
By: Morgan Jacobus, Editor in Chief and Carly Compesi, Staff Writer
Crafting, or making anything really, can be a great way to relax, de-stress, and give your mind a break. For me, I like to listen to music, or even watch tv while I make things. It is so satisfying to see a completed project. It is almost therapeutic, and I highly recommend it.
So, you in? Carly and I have a few inexpensive, relatively easy and simple crafts you can do. After all, we are in college.
Friendship Bracelets
Did you ever make friendship bracelets as a kid? Well, it is not just for kids anymore, at least for me! I recently got back into making friendship bracelets this past summer during the stay-at-home order. Once you get the basic knots down, it is easy to make!
Materials needed: embroidery floss and a way to secure the bracelet (tape, safety pin, clipboard, etc.)
The most basic bracelet is called the Chinese staircase bracelet.
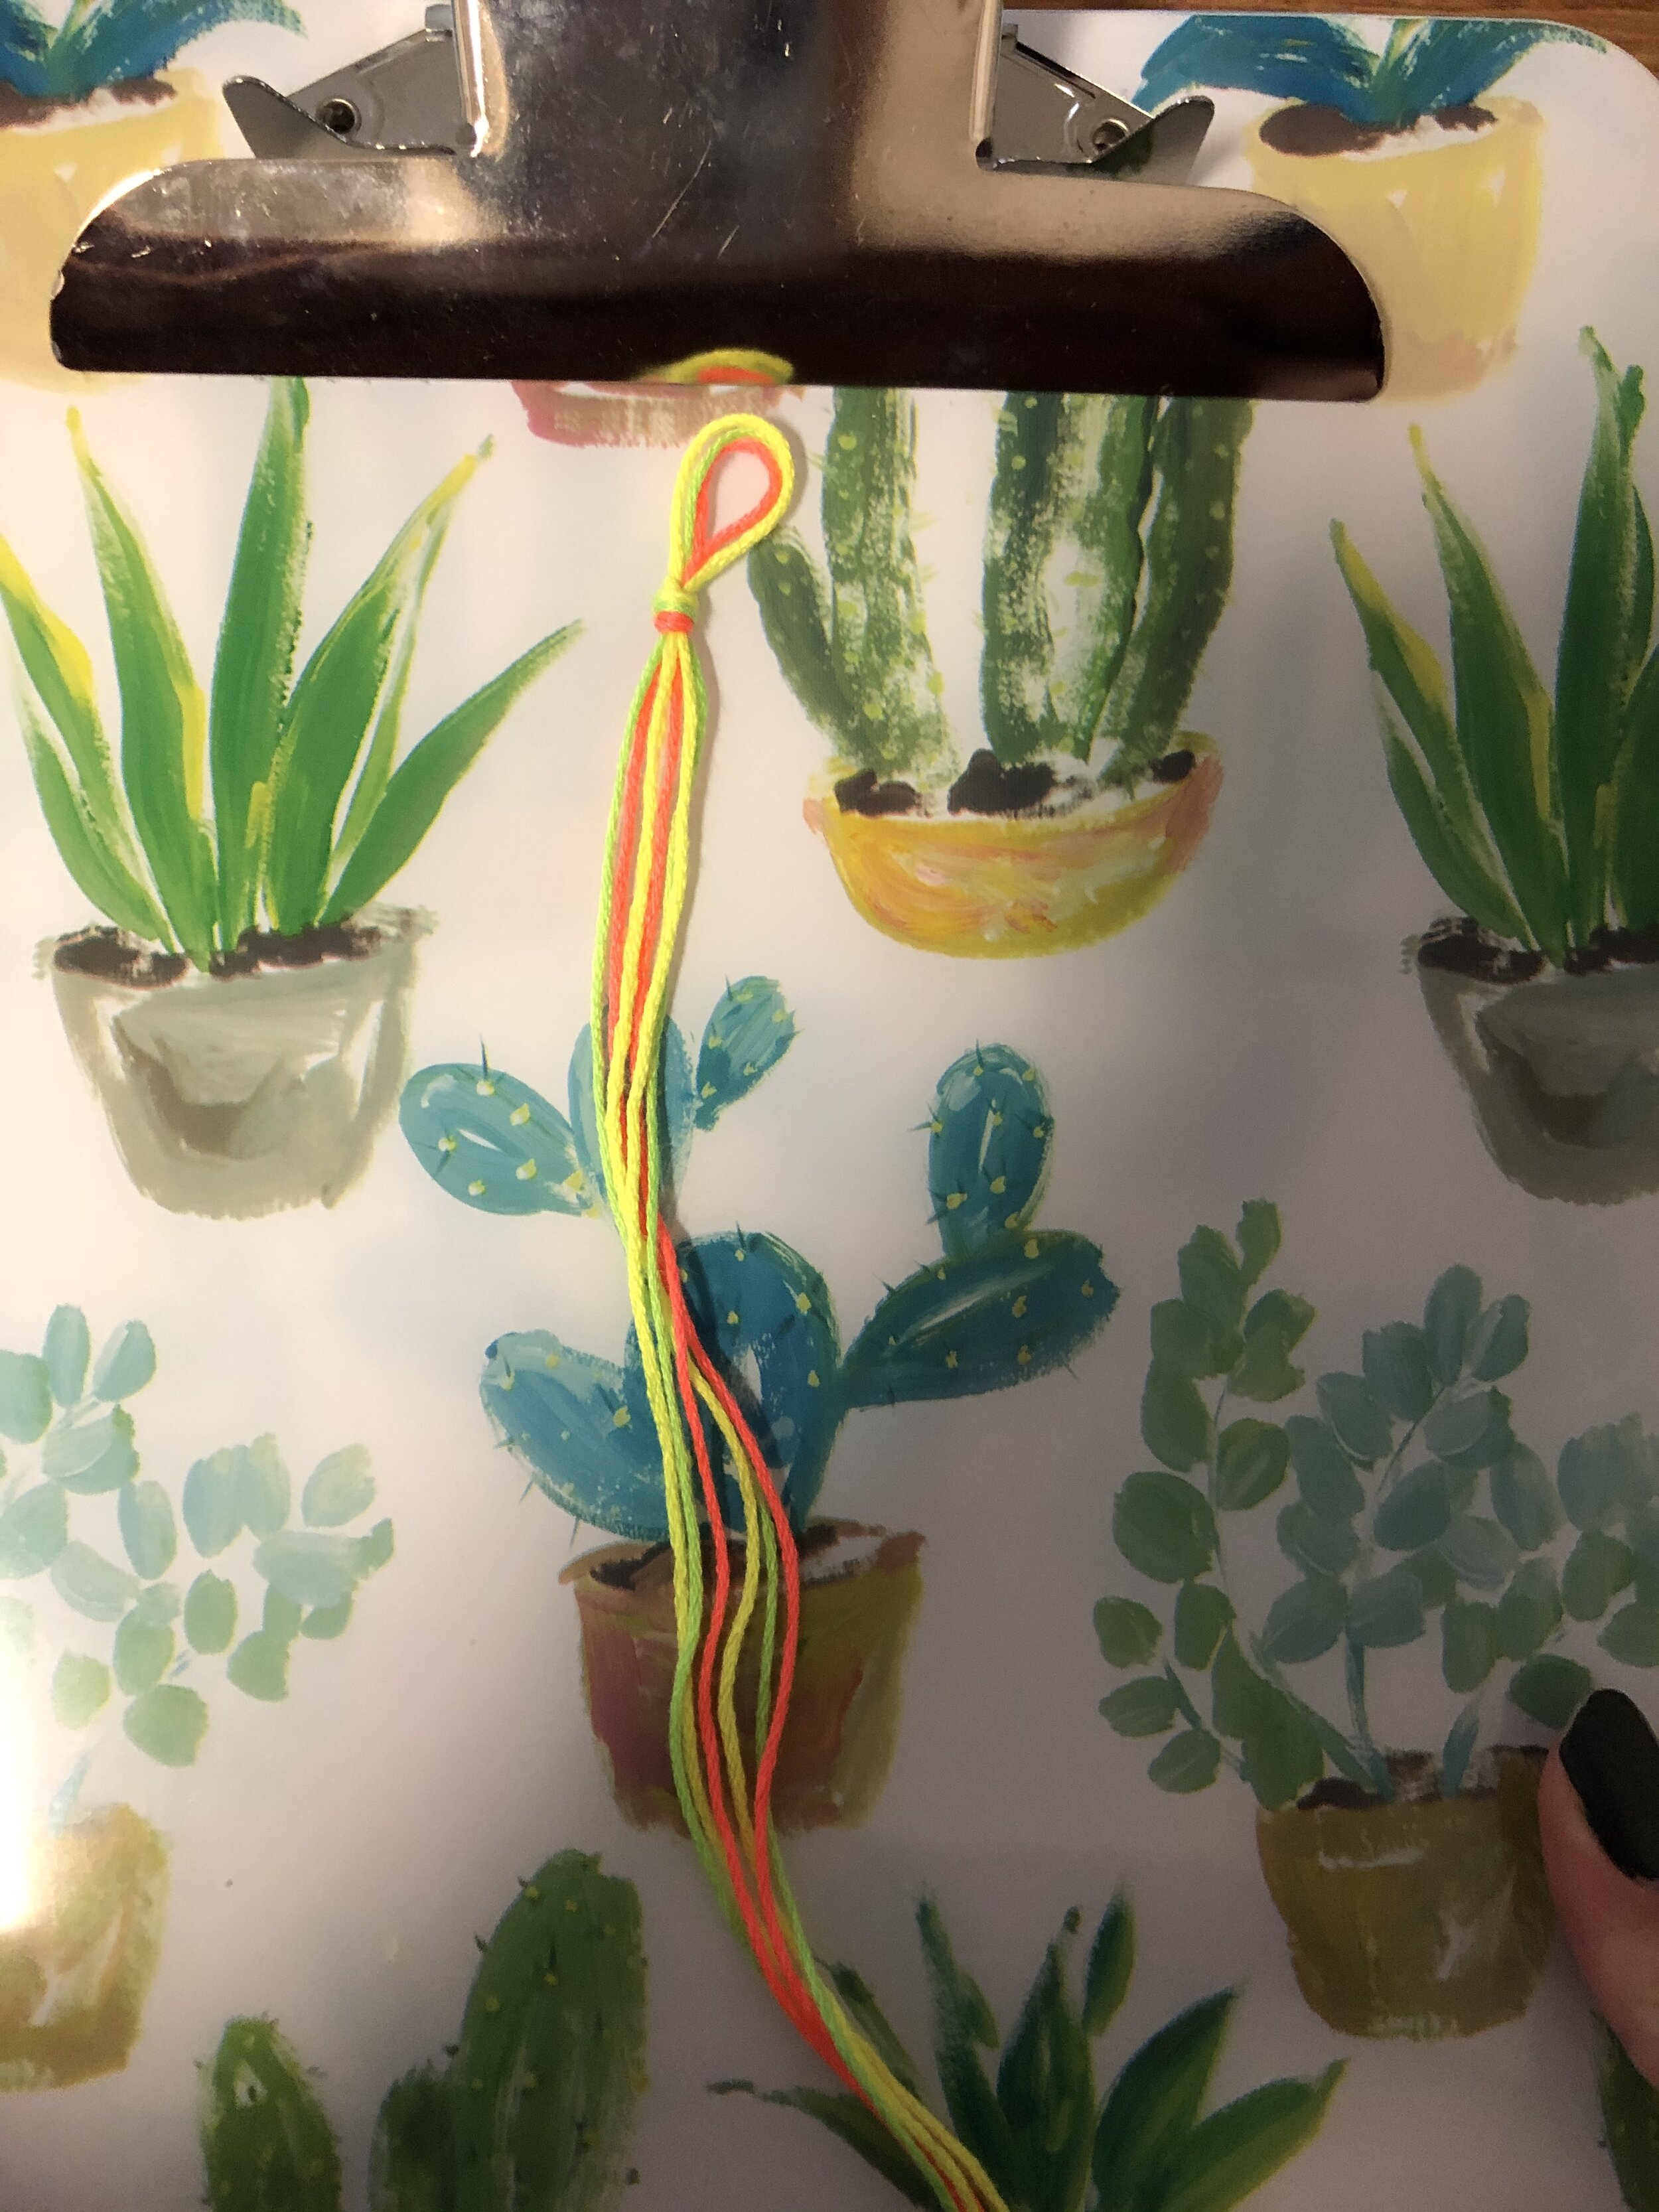
Photo by Morgan Jacobus
Step 1: If you want three colors, I would suggest cutting a length of string roughly the length of your arm span or longer (it is okay if you have too much string, I would rather have more I need than not enough) for each of the colors. Then, you can fold the strings in half so you have two of each color and tie a knot near the top so you have a loop.
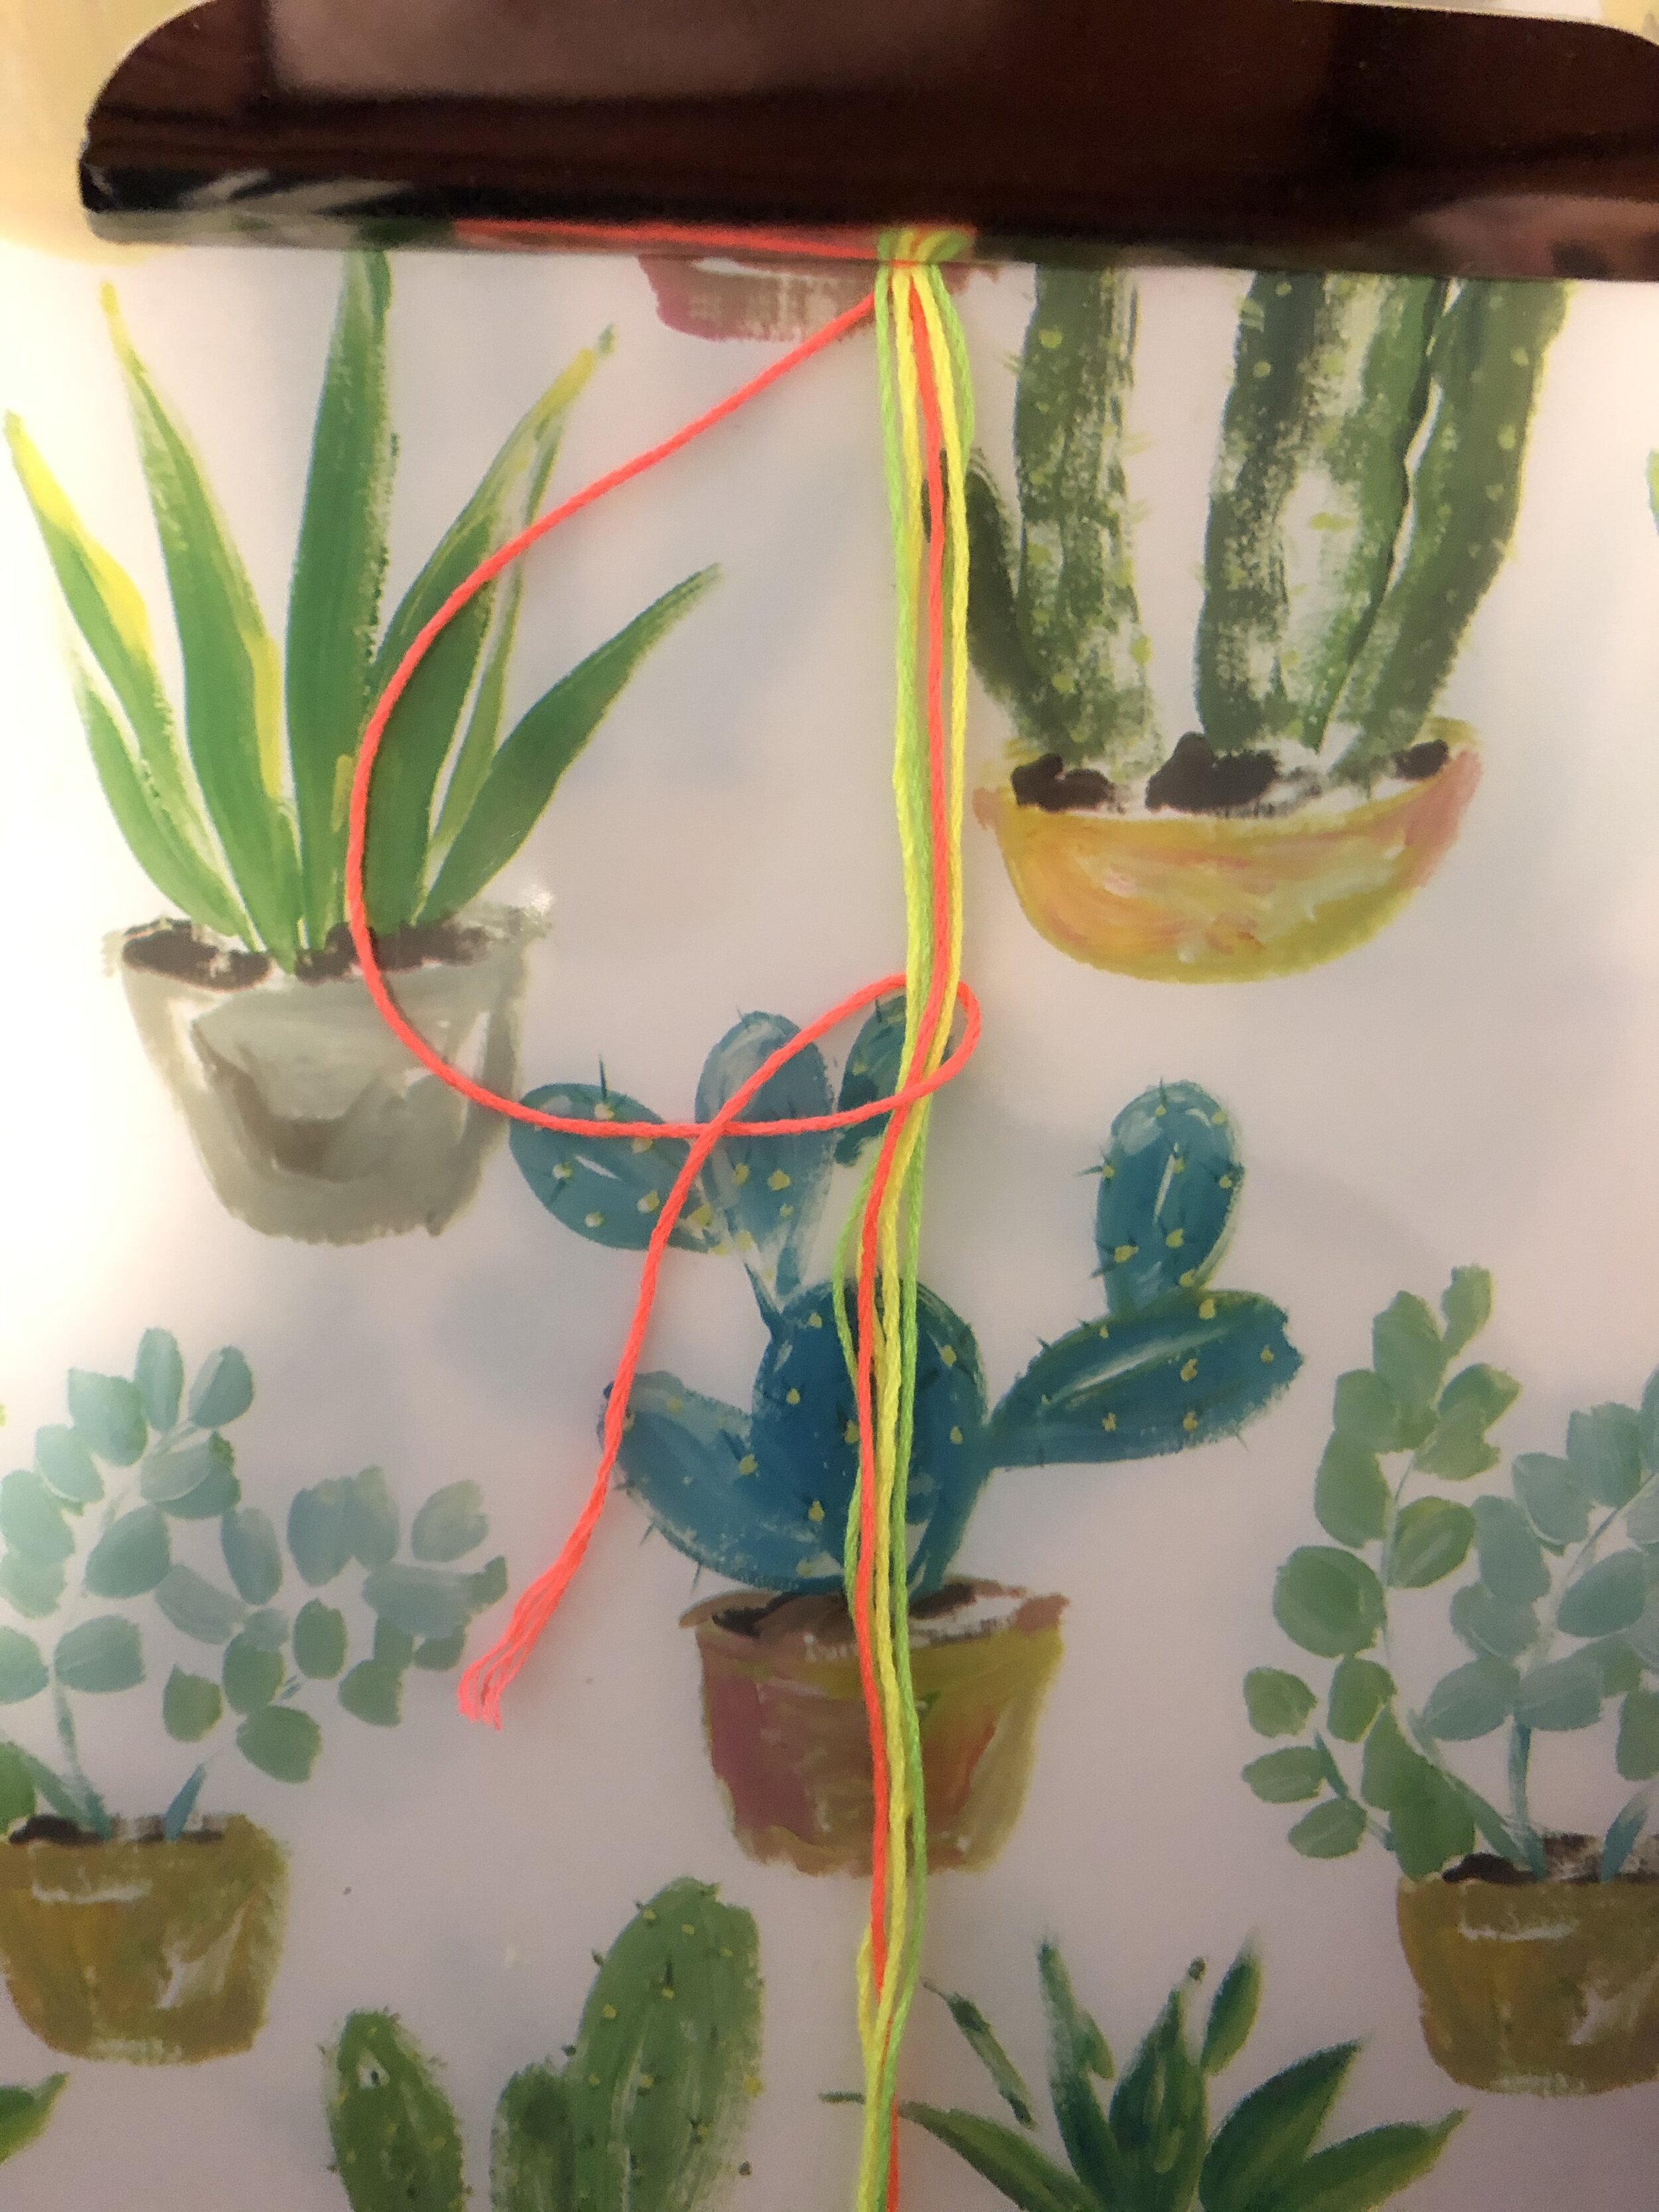
Photo by Morgan Jacobus
Step 2: Take a strand of the color you want to start with and move it to the left. Cross the strand over the other strands, then feed the end under and through the loop you created and pull! That is the basic loop. Depending on how long you want each block of color to be will depend on how many loops you make before switching colors. Experiment with the number! I usually do multiples of 5 (5, 10, etc).

Photo by Morgan Jacobus
Step 3: Once you are satisfied with the block of color you’ve made, go ahead and repeat the same process with a new color.
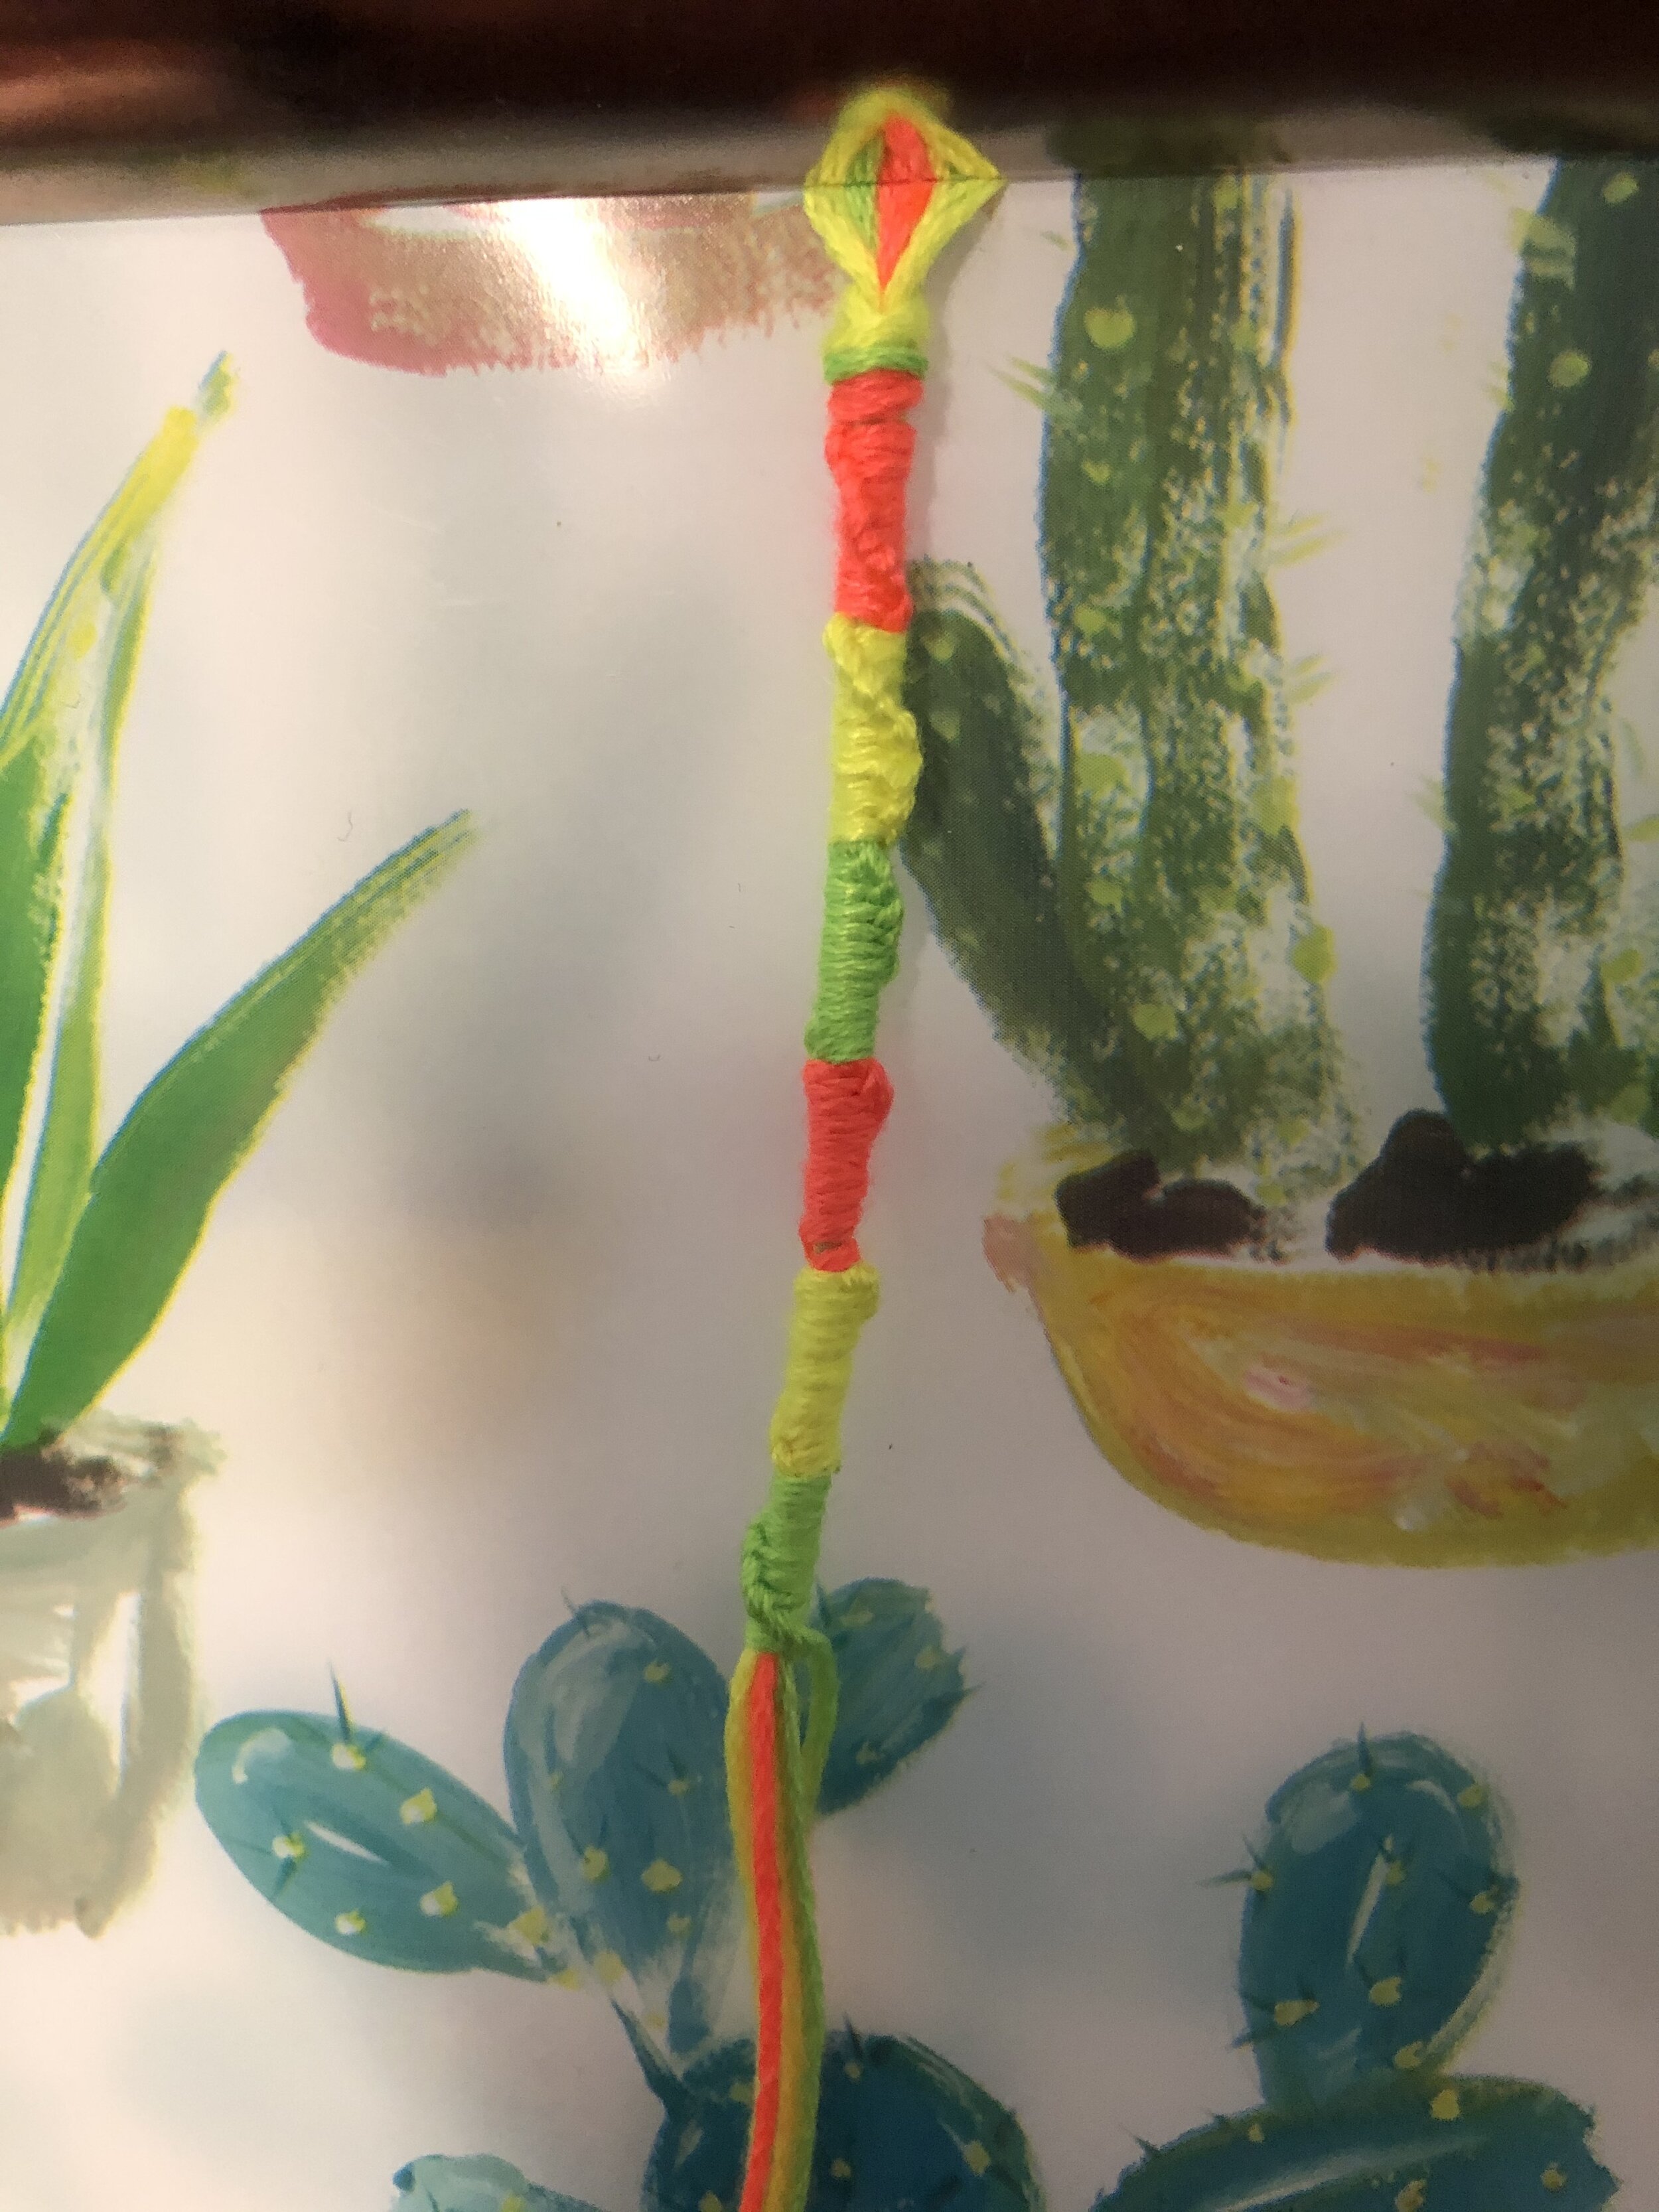
Step 4: Continue repeating the same steps, repeating colors (when you start a new color block, be sure to use the string that is longer so you use both strands evenly).
Step 5:When desired length is achieved, you can leave the strands loose if you want to tie the bracelet that way, or my preferred way is to braid the ends in one or two braids. That way, the bracelet is easier to tie, and easier to remove if you want to. You can tie the braid around the loop you created, or if you don’t want a loop, you can have both ends be braided. If you don’t have a loop, you need to cut the strands in half then tie a knot a few inches below the end of the string (leave room to braid) before starting your bracelet.
If you’ve mastered that basic bracelet you can try some more challenging and complex bracelets! I learned a variety of bracelets from Pinterest and YouTube.

Photo by Morgan Jacobus
The fun thing about this type of bracelet is you can apply the technique. For instance, I wrapped my headphones and phone charger using this process. Rather than wrapping the string around the other strands, you wrap it around the cord to make your loop. However, rather than tying all your strands together like you would with a bracelet, tie each color on one at a time. I recommend slightly overlapping each color so that there aren’t any gaps. Once it’s done, I use a little bit of glue to smooth down the loose strings that might’ve popped up, and I glue the beginning and the end to make sure it is secure (dab the glue on then smooth it out with your finger).
Embroidery
If you already have embroidery floss (like if you made some friendship bracelets), another fun craft is to embroider. I like to embroider my clothes and bags to add some customization to them.
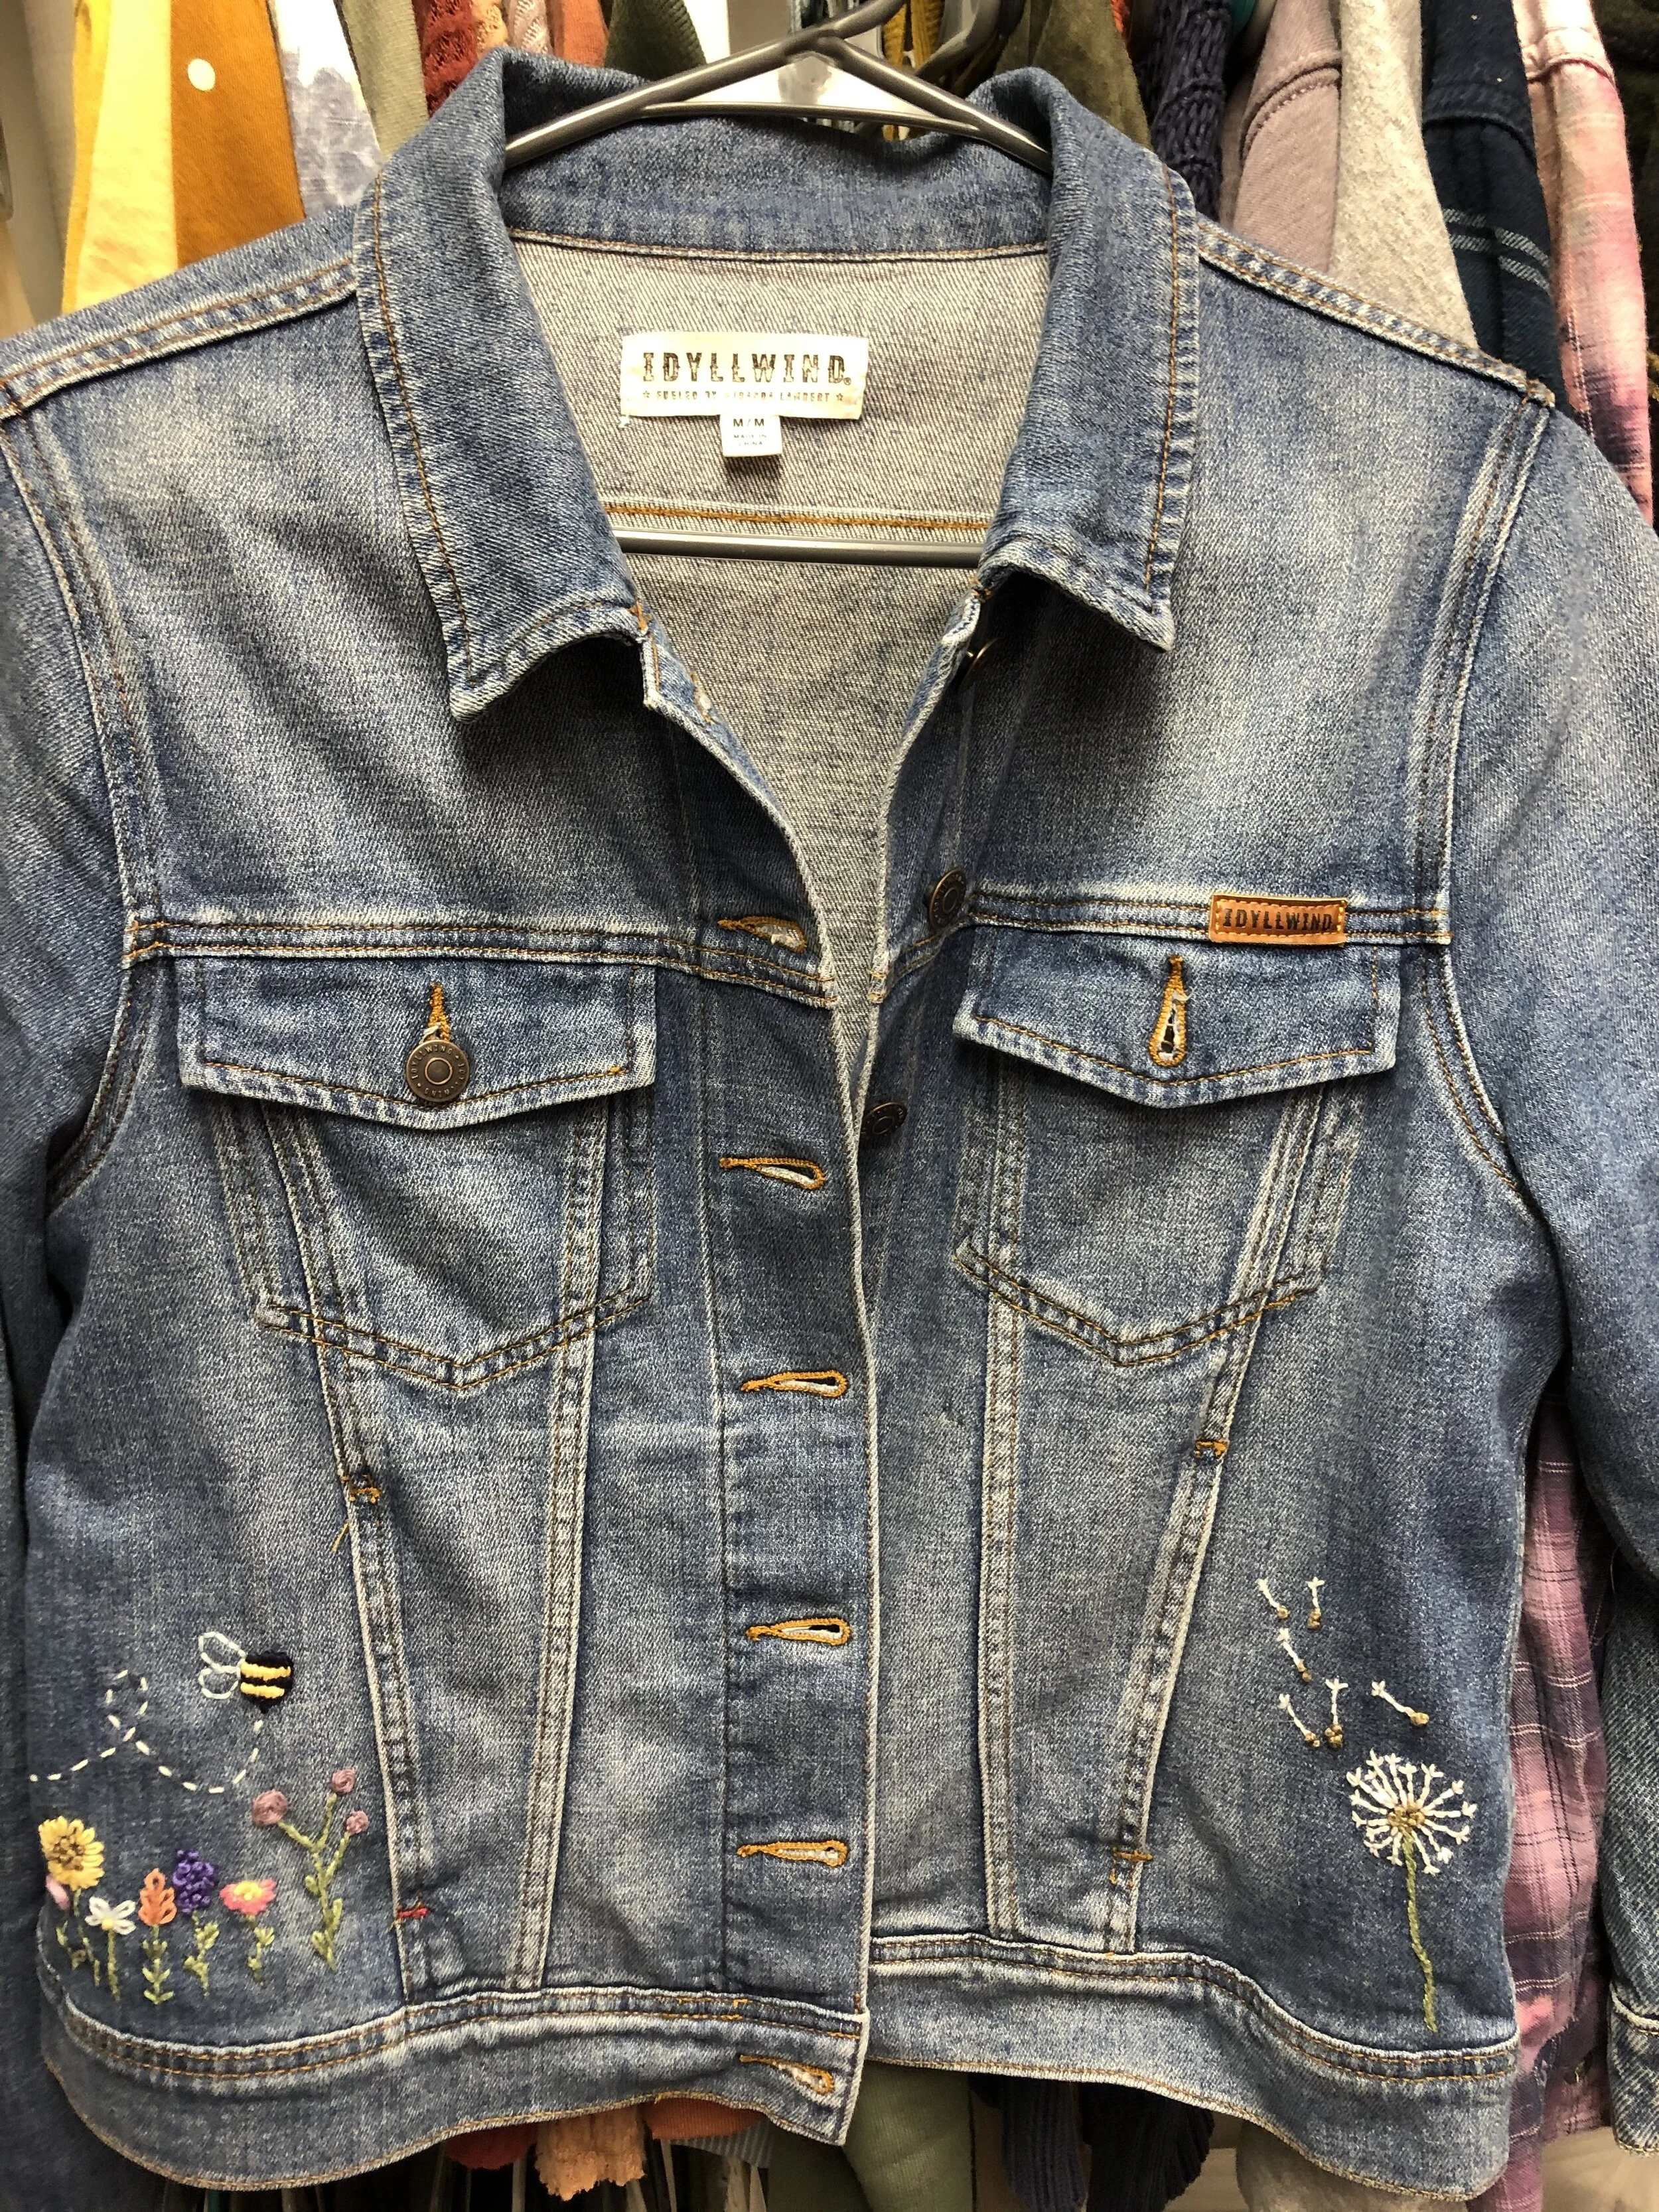
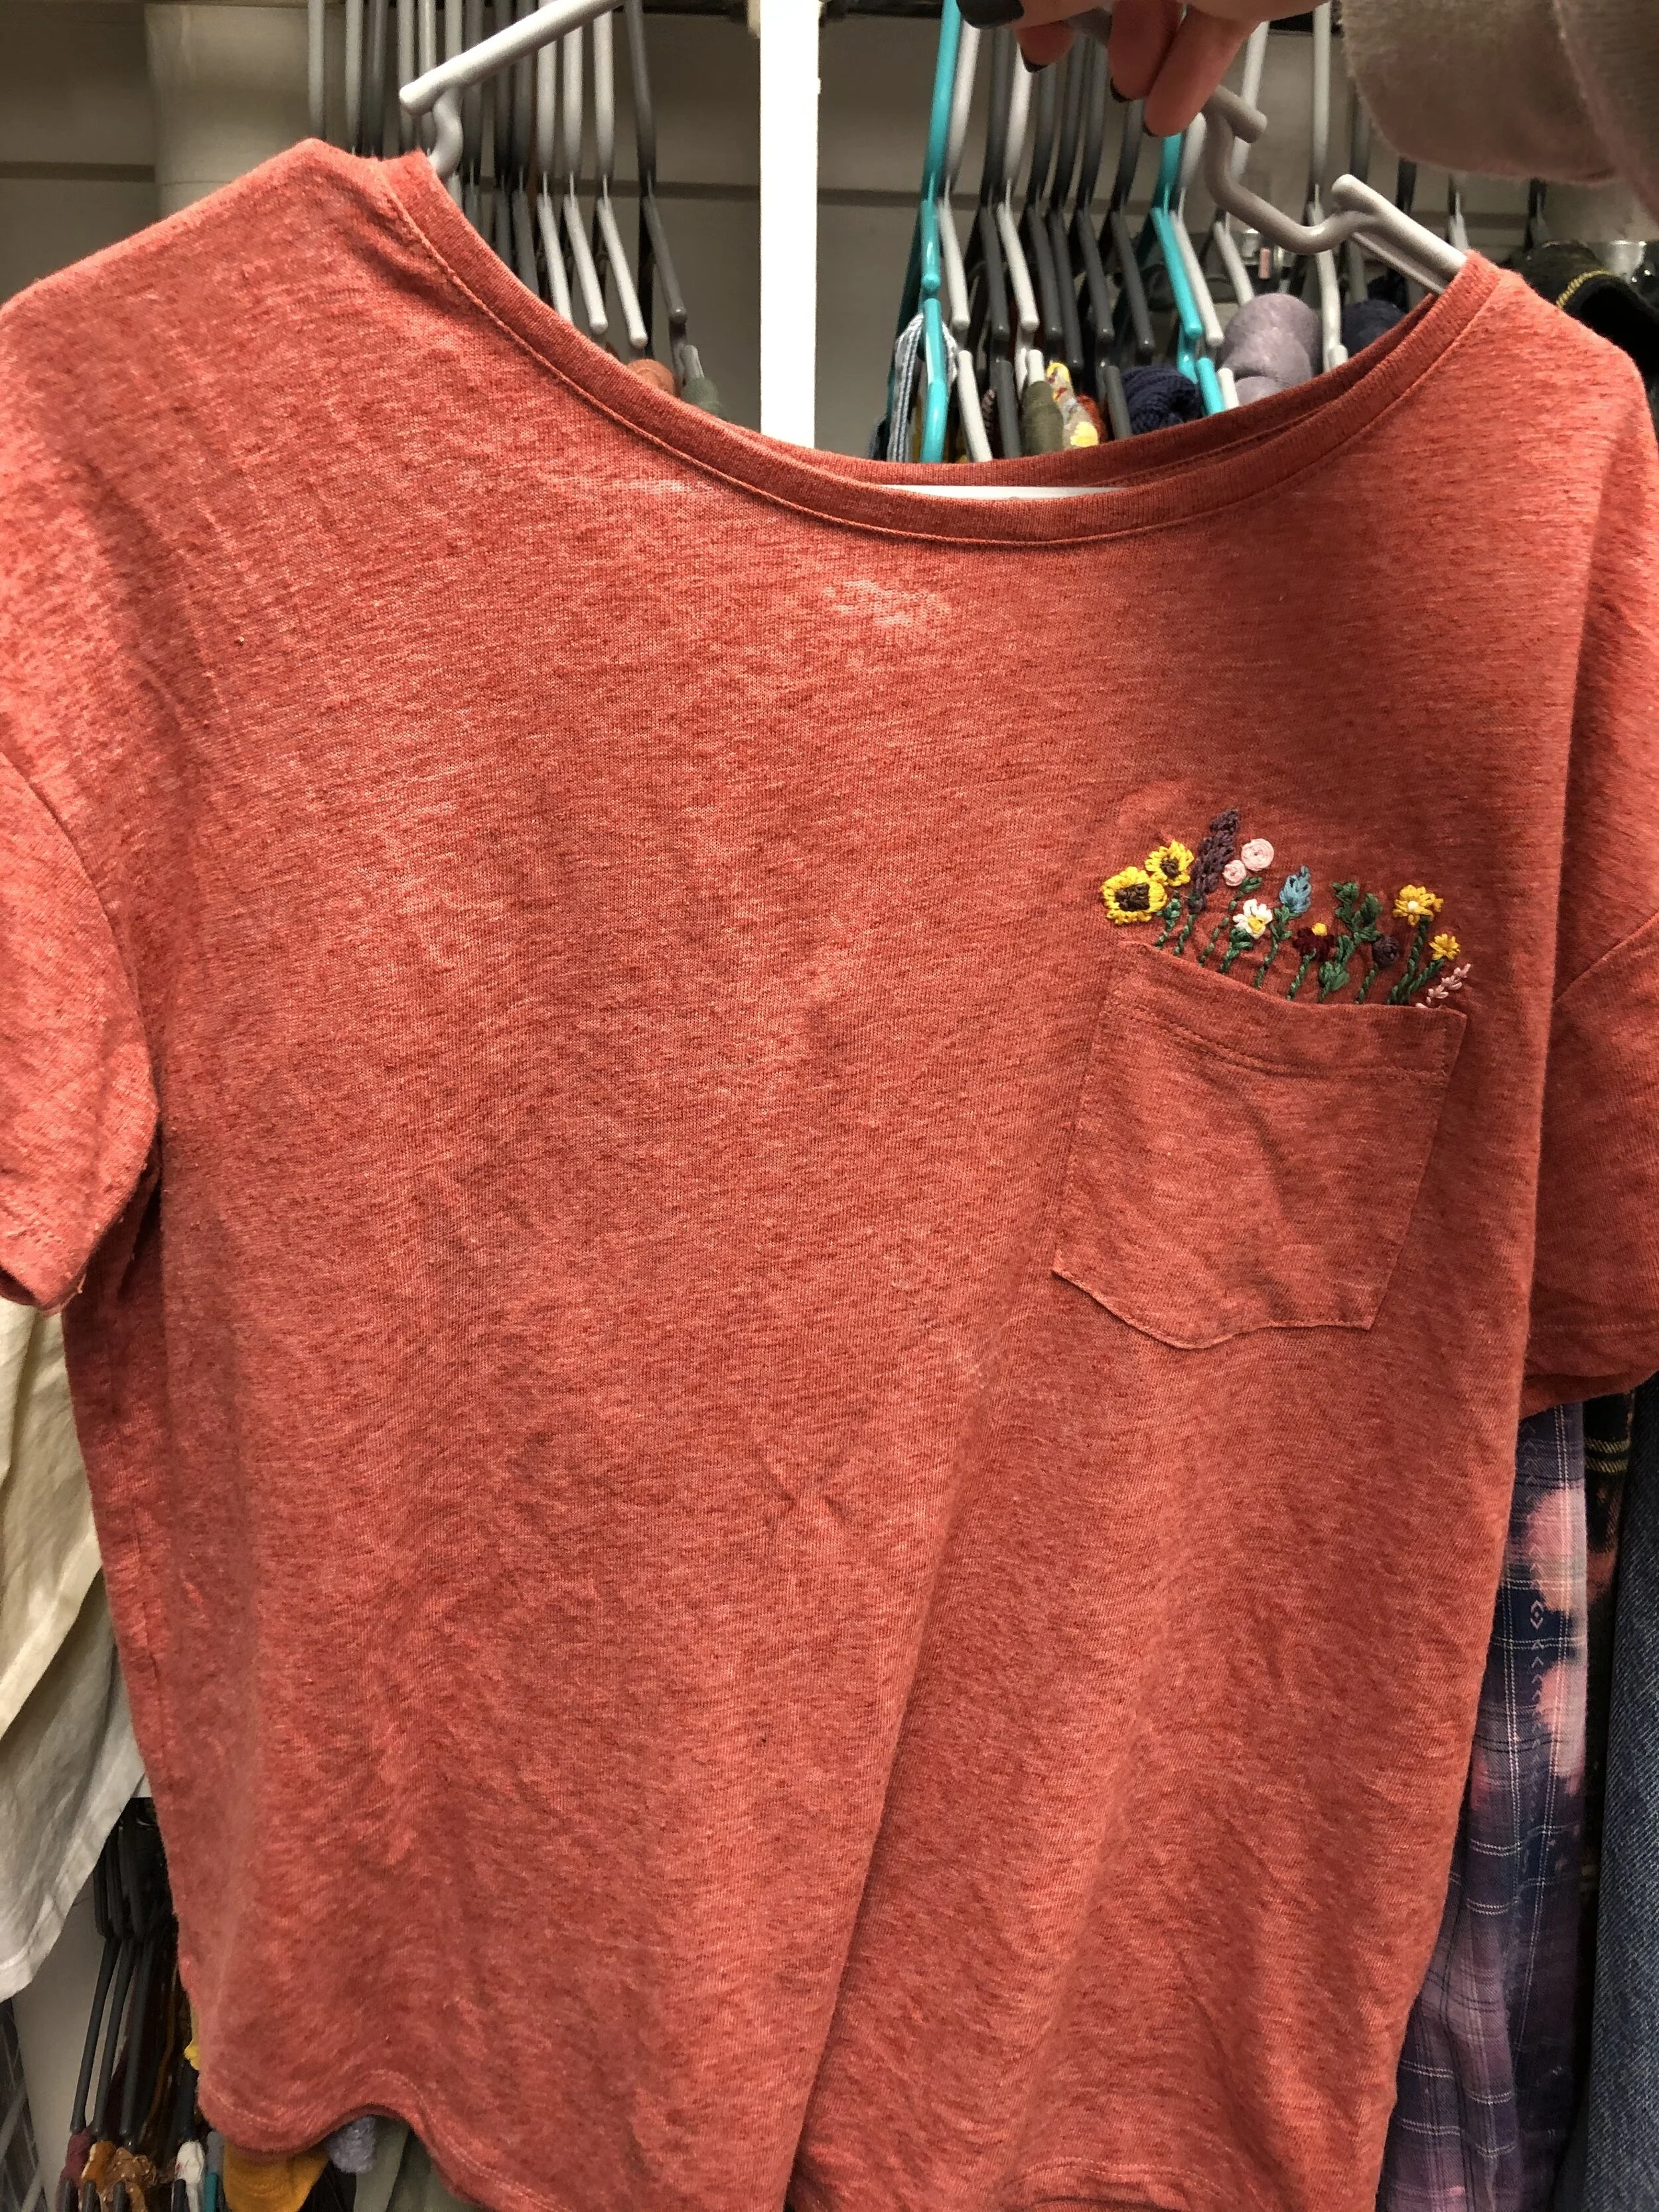
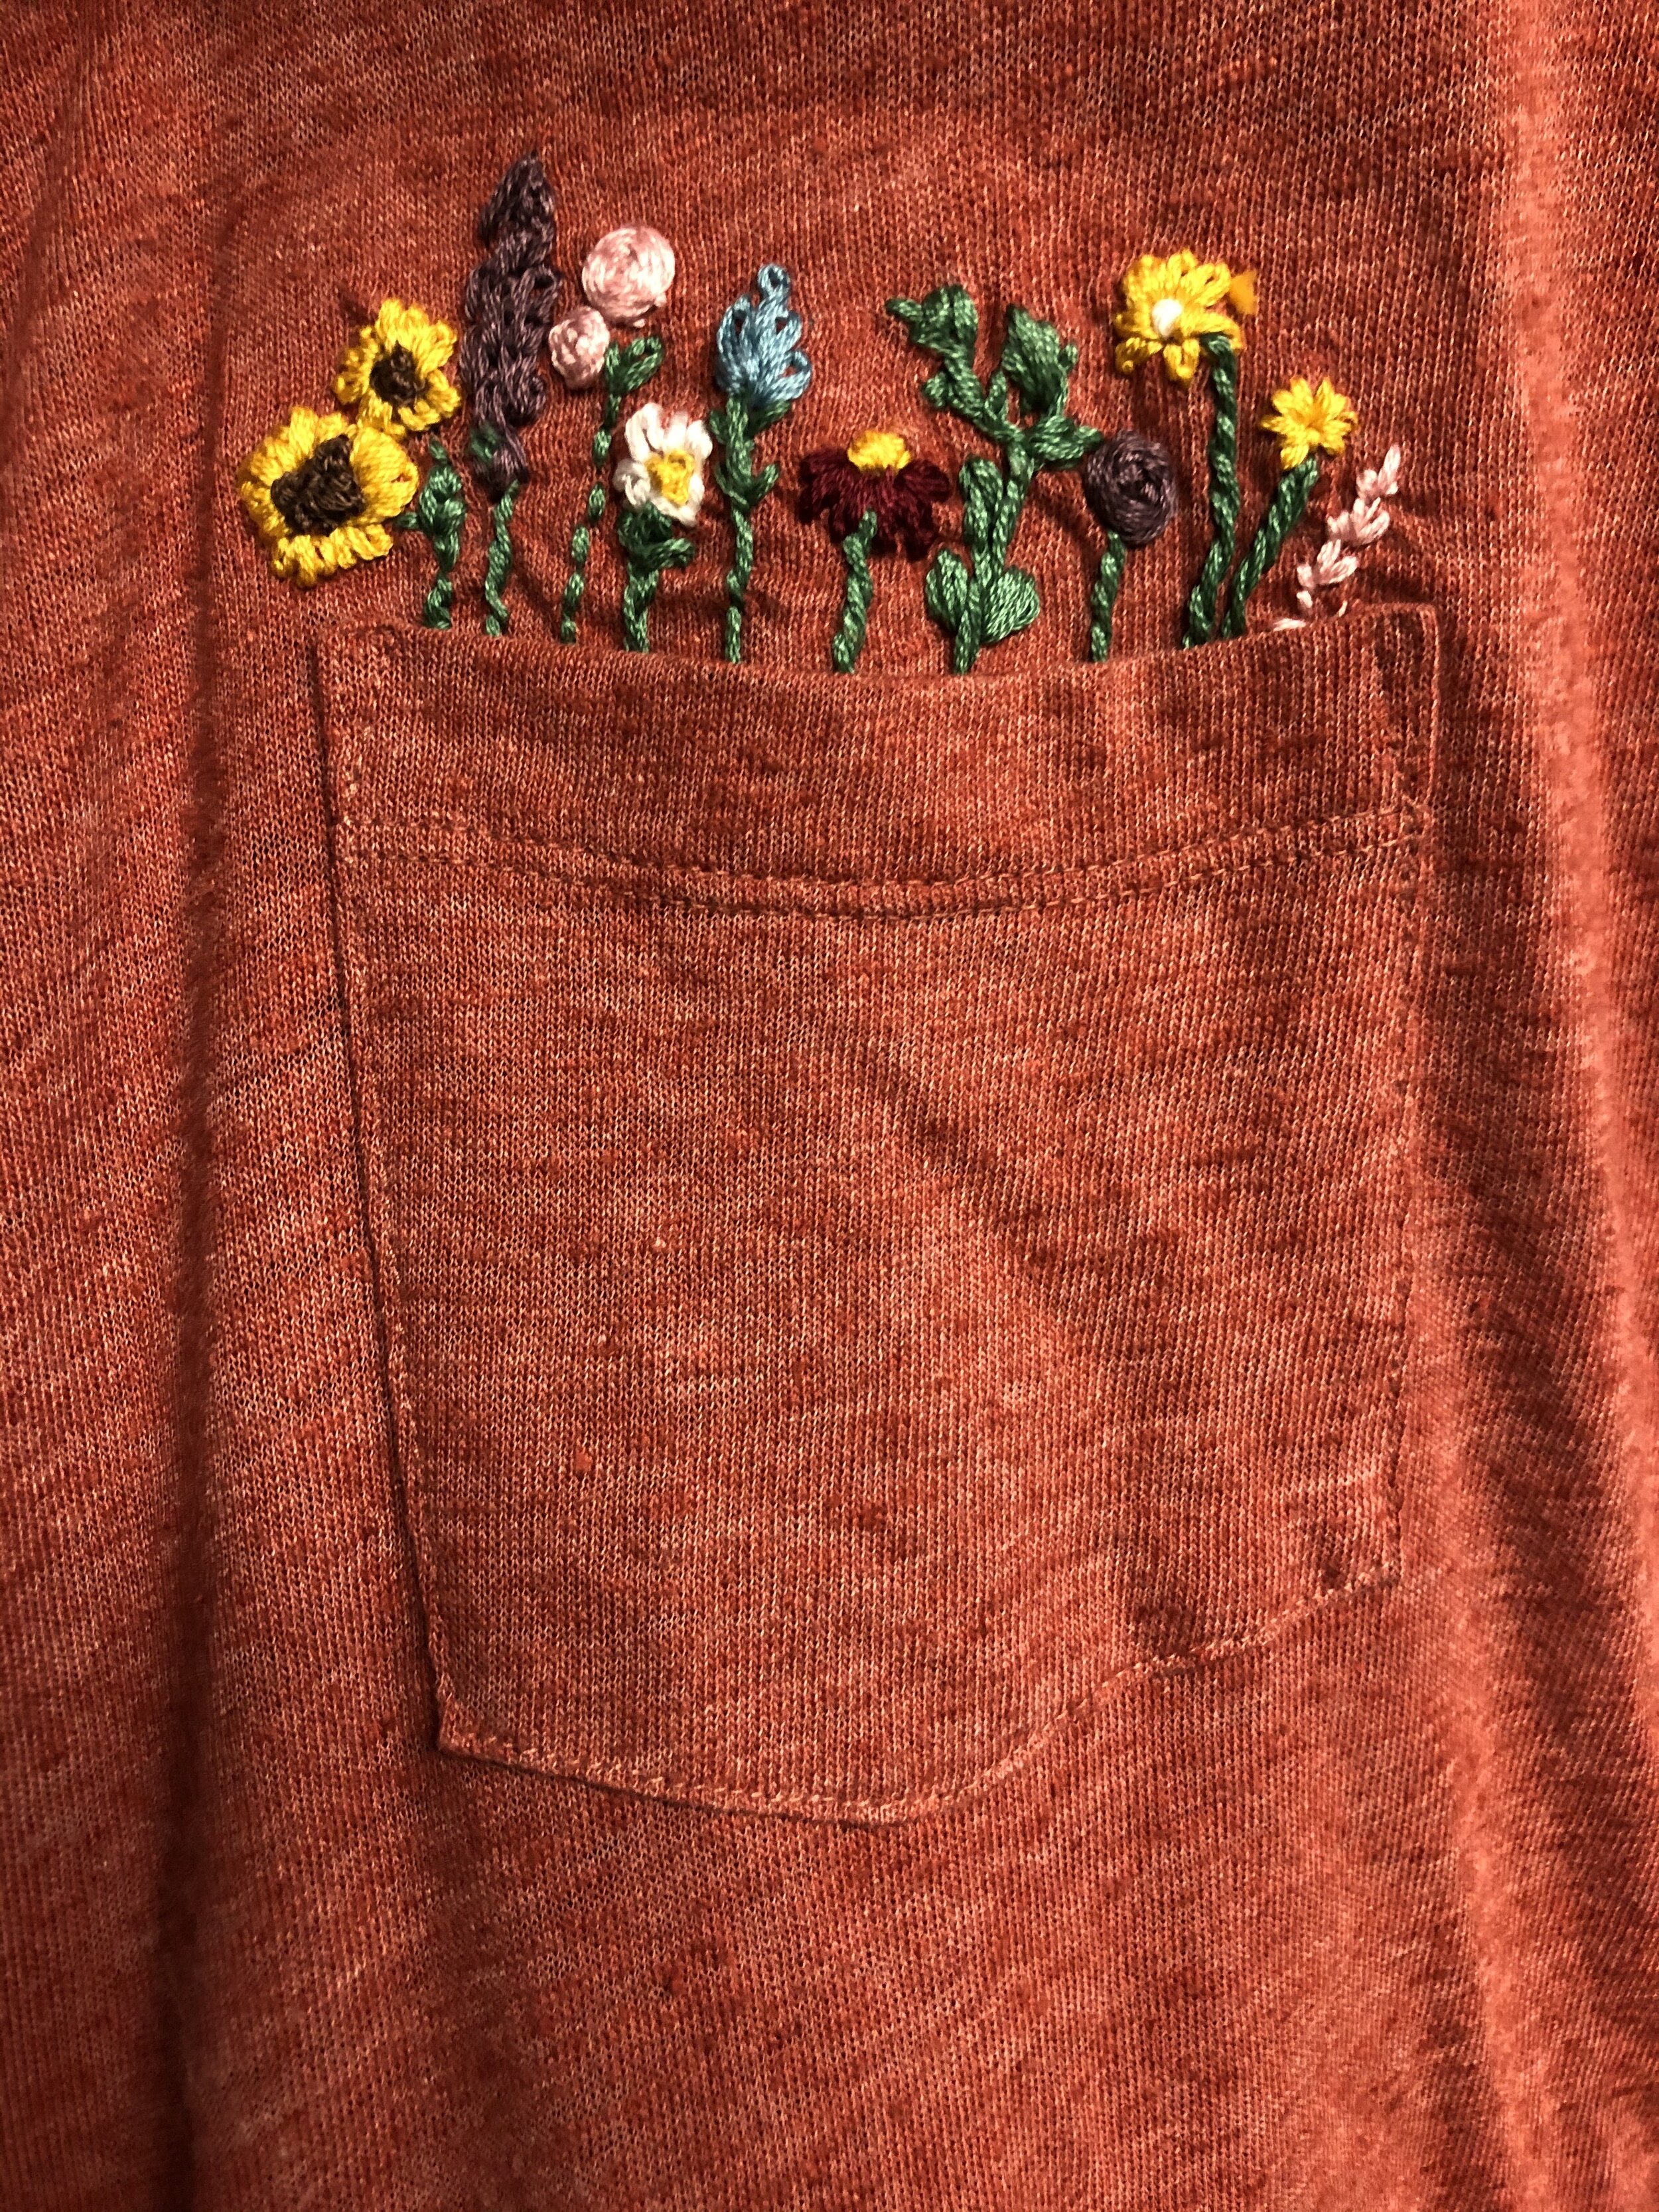
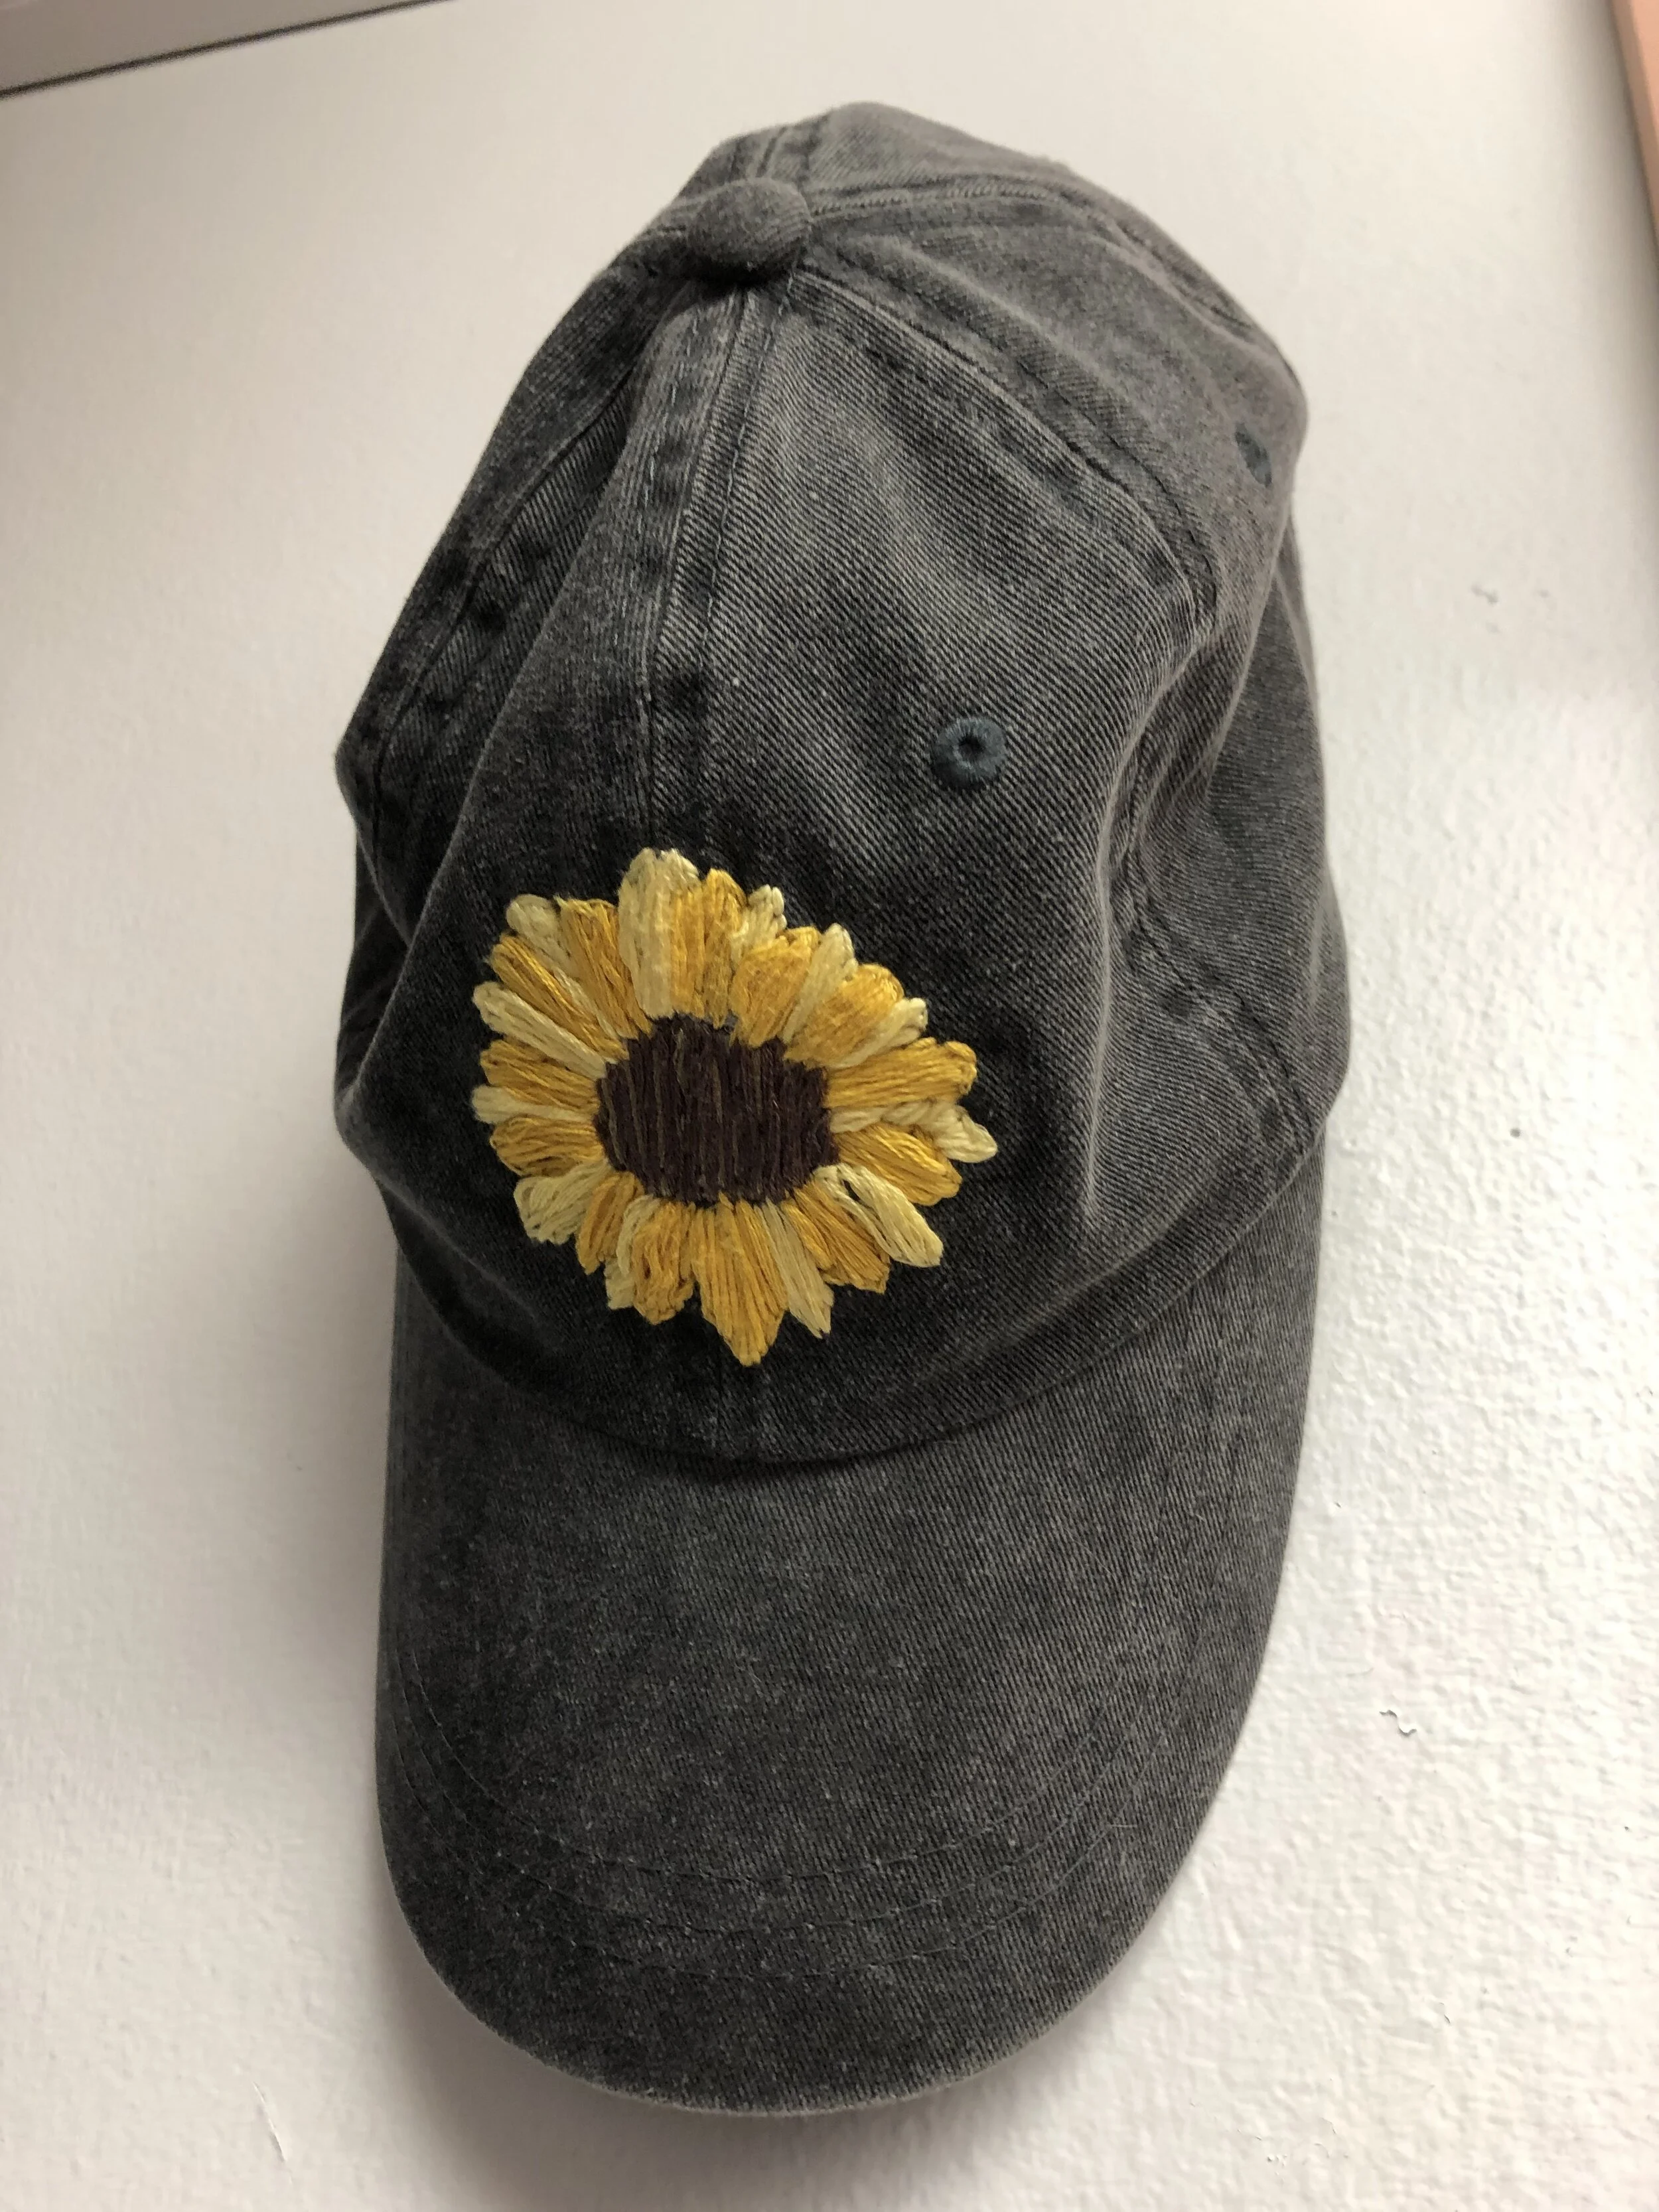
I started with my denim jacket (a staple if I may say so myself), since I wore it all the time I thought it would be neat to add some details to it. From there, I also embroidered a shirt pocket, and a hat (the hat took a little more effort, since the material is thicker), but the possibilities are limitless! Any fabric will do, but medium weight fabrics will be easier.
Materials: embroidery floss, needle, fabric (or clothing item/ bag)
Optional: fabric backing, embroidery hoop (for this craft, an embroidery hoop is useful to stabilize the fabric while you stitch, but I started without one, so if you don’t want to use one you don’t have to)
There is no set way to embroider, you are free to do whatever you want! Here is a guide to different basic types of stitches you can use to make your design. From there, just look up some inspiration online, that is how I got started. Part of the beauty of embroidery is that it is easy to start over, just remove the stitches!
Painting rocks
Another fun project that doesn’t cost a lot to make is painting rocks. This project became popular over the summer, since people would paint rocks and leave them around the neighborhood for people to see when they went on their walks (since during the stay at home order, lots of people wanted to get out and walk).
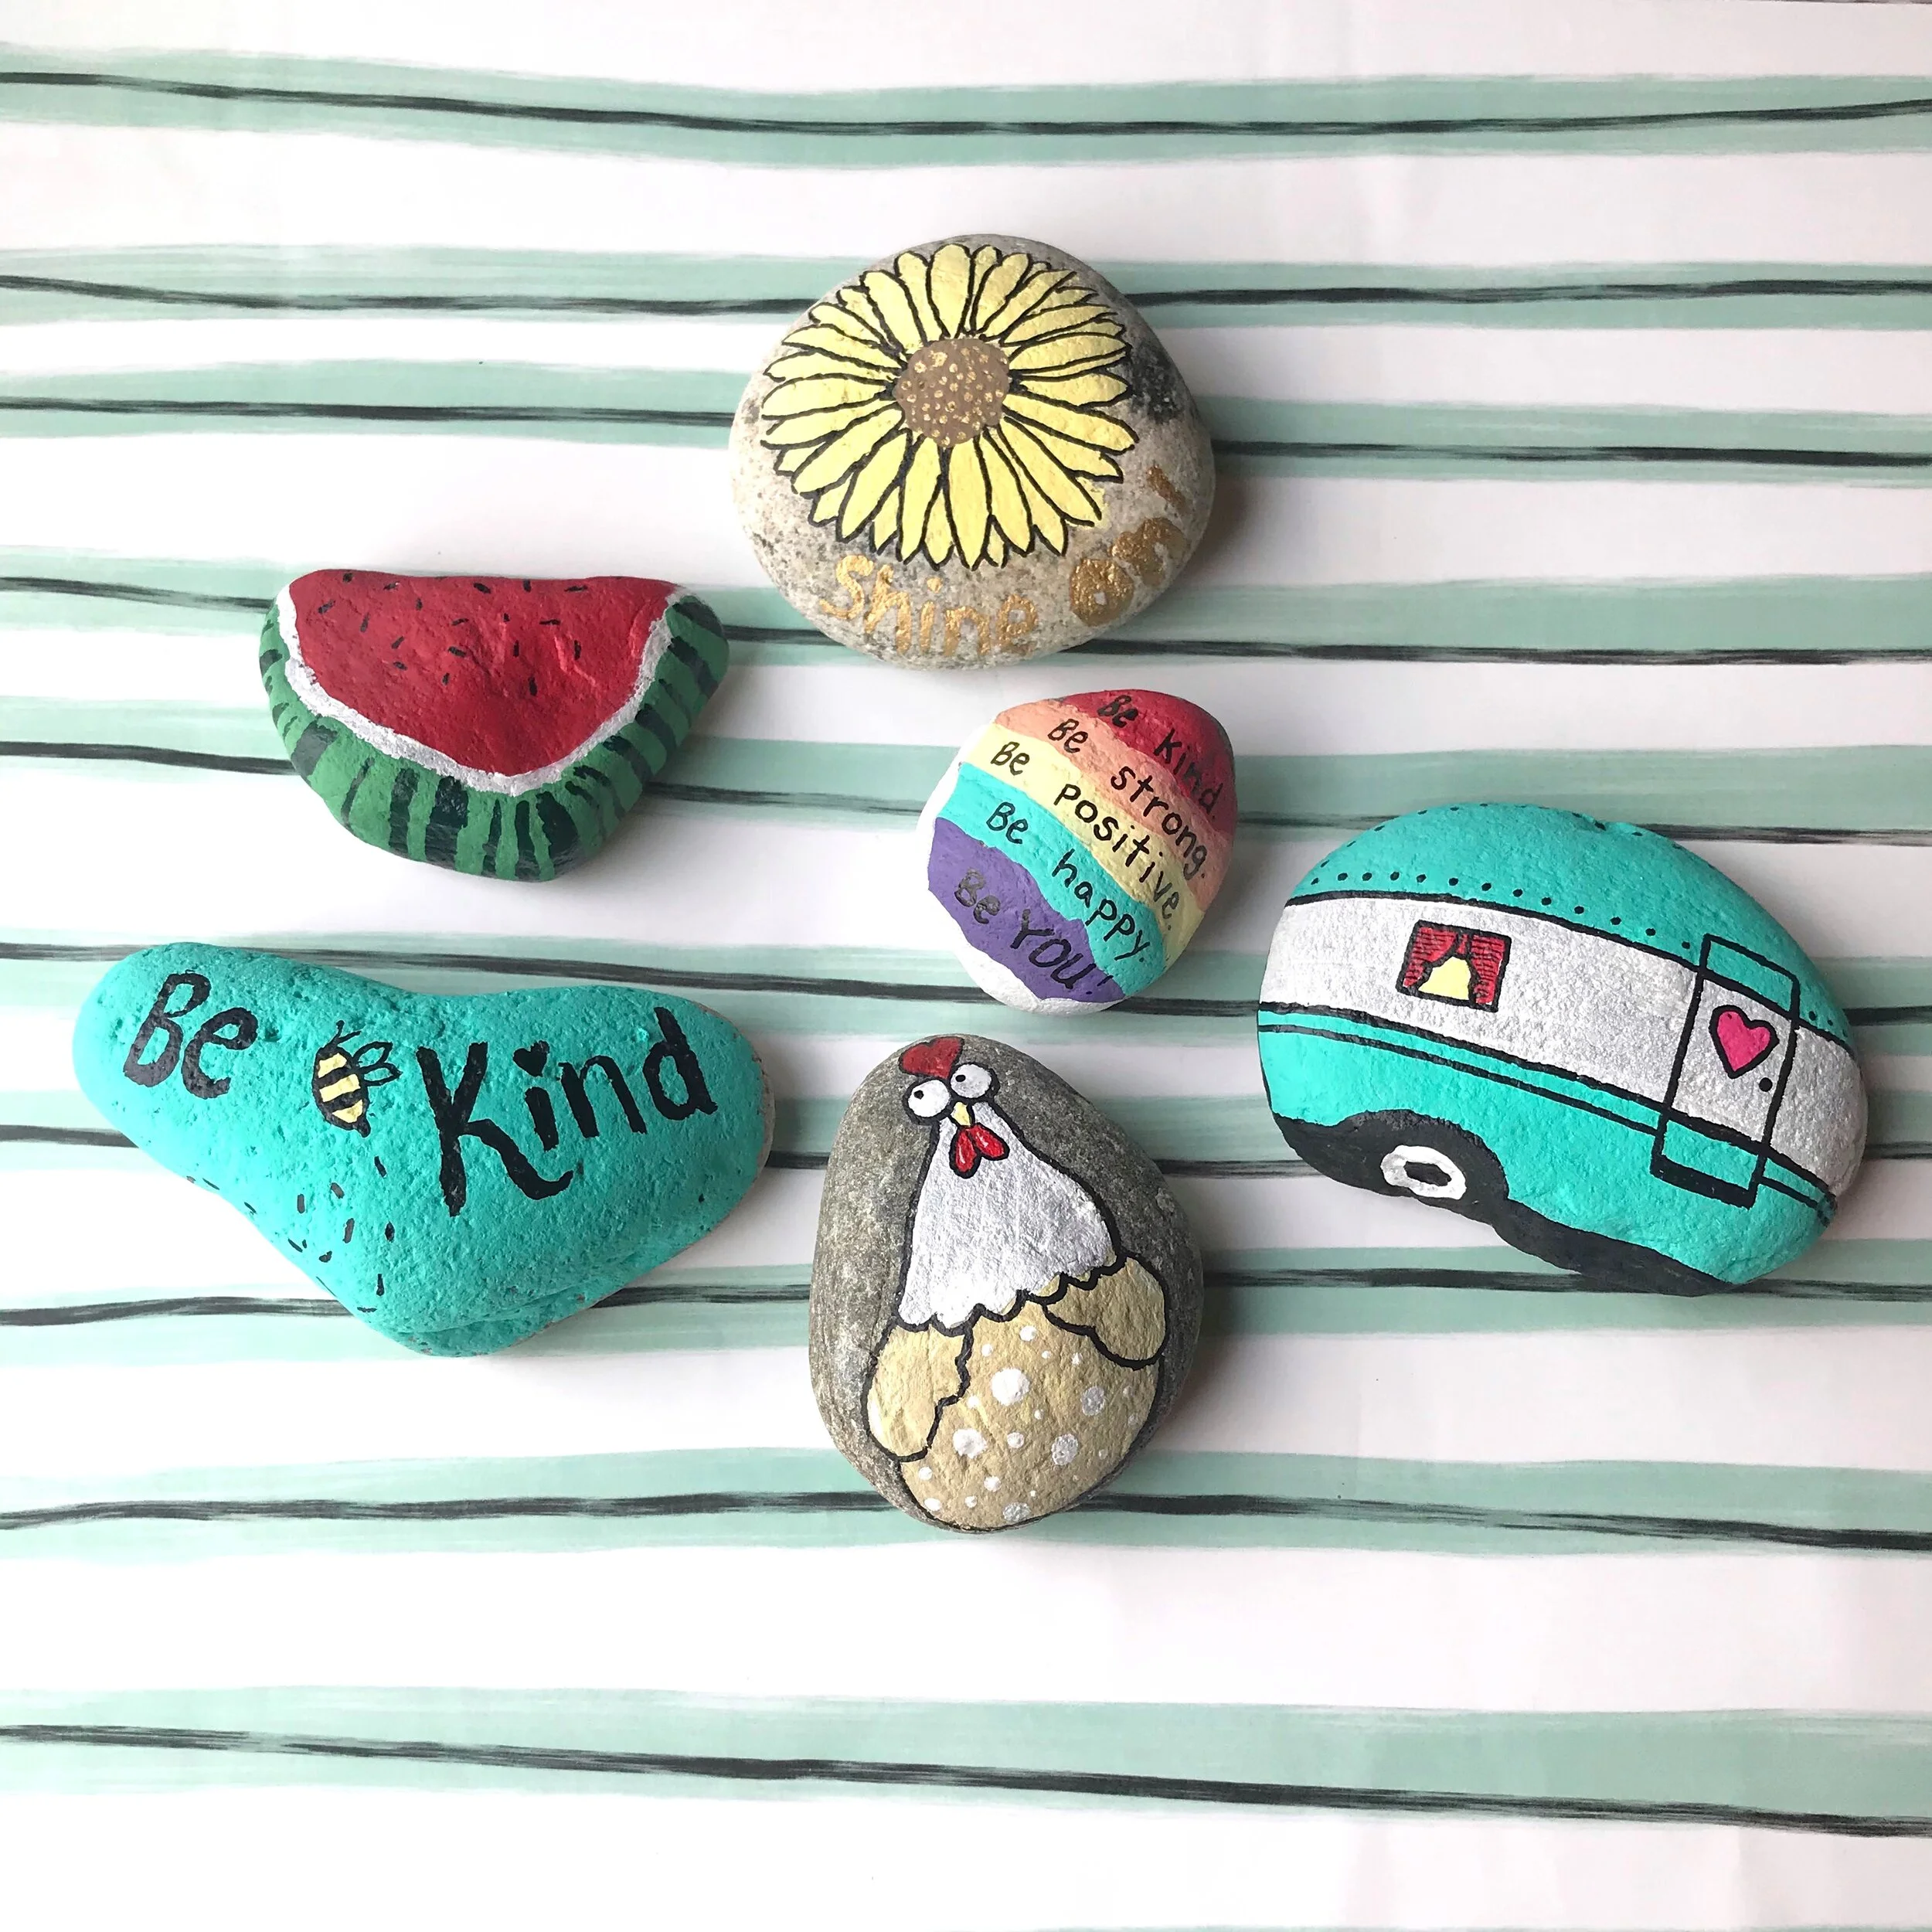
Photo by Morgan Jacobus
So, my mama and I hopped on the bandwagon, and it was fun! You just have to go to the “rock store” (aka outside), pick out some rocks, and go wild.
You can pick rocks that have a unique shape that lends itself to a unique design, or you can find rocks with a smooth surface to paint on, or really anything that speaks to you. I even noticed some people in the RVs finding and painting large rocks with their RV number to be outside their door. The possibilities are endless!
Materials: paint, paint brushes, rocks, (optional) sealer
Step 1: Find rocks
Step 2 Think of what you want to paint
Step 3: Paint it! It’s that simple.
Step 4: OPTIONAL: seal your rock to protect your painting, especially if it is going to be outside
Glass bottle art
Sometimes the best hobbies and crafts come out of boredom, like when you are in a quarantine, which is how my friend Shelby Plummer got into painting bottles.
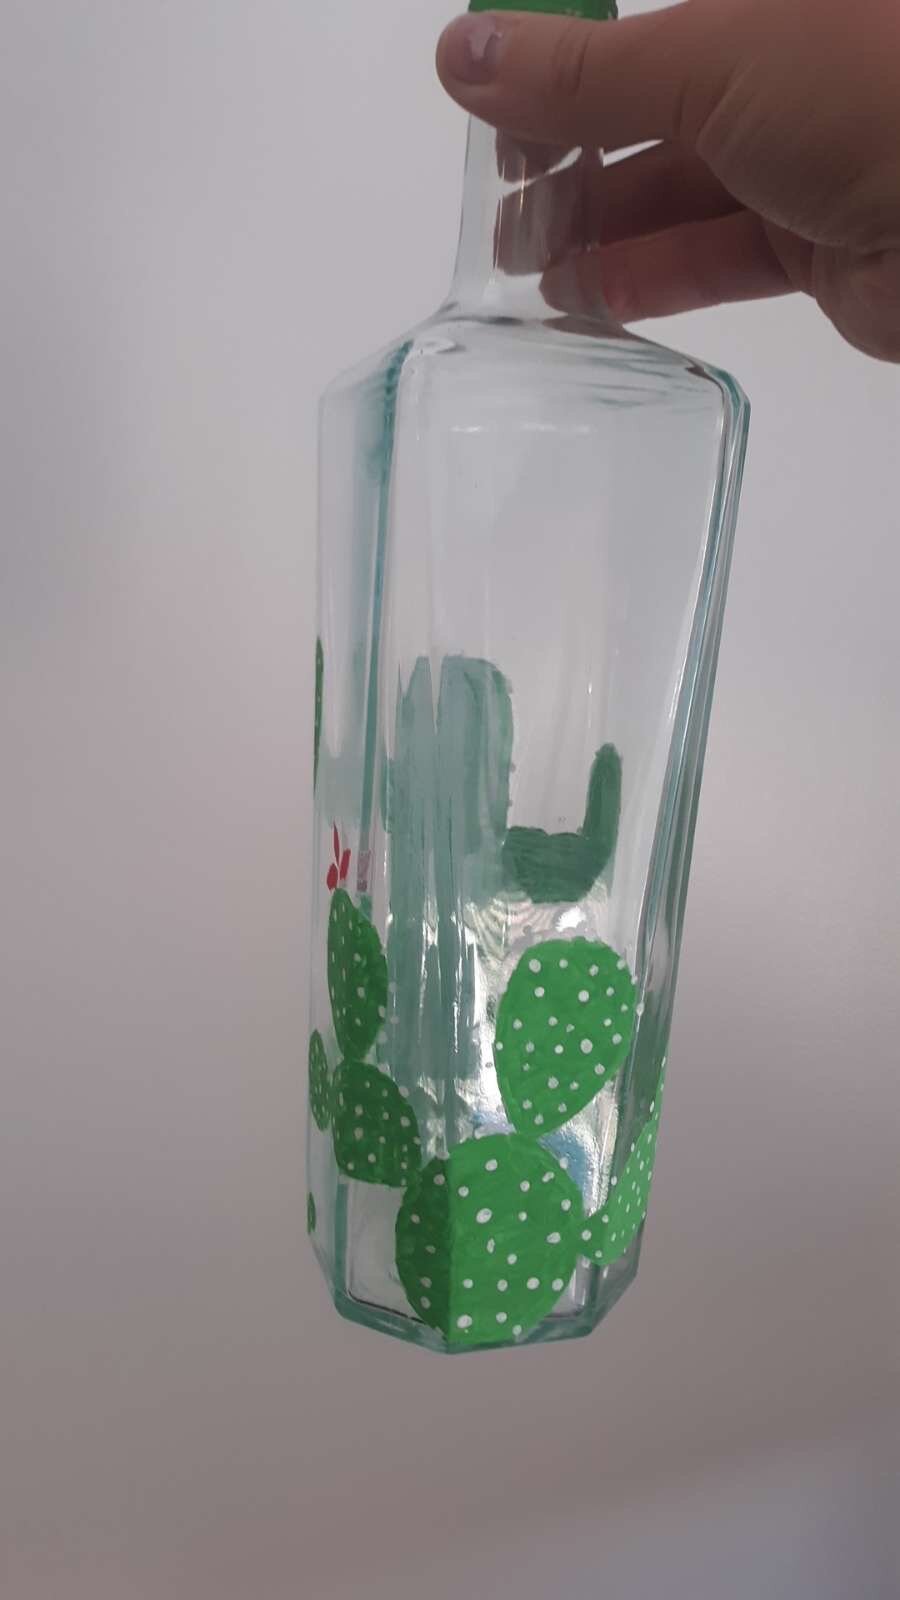
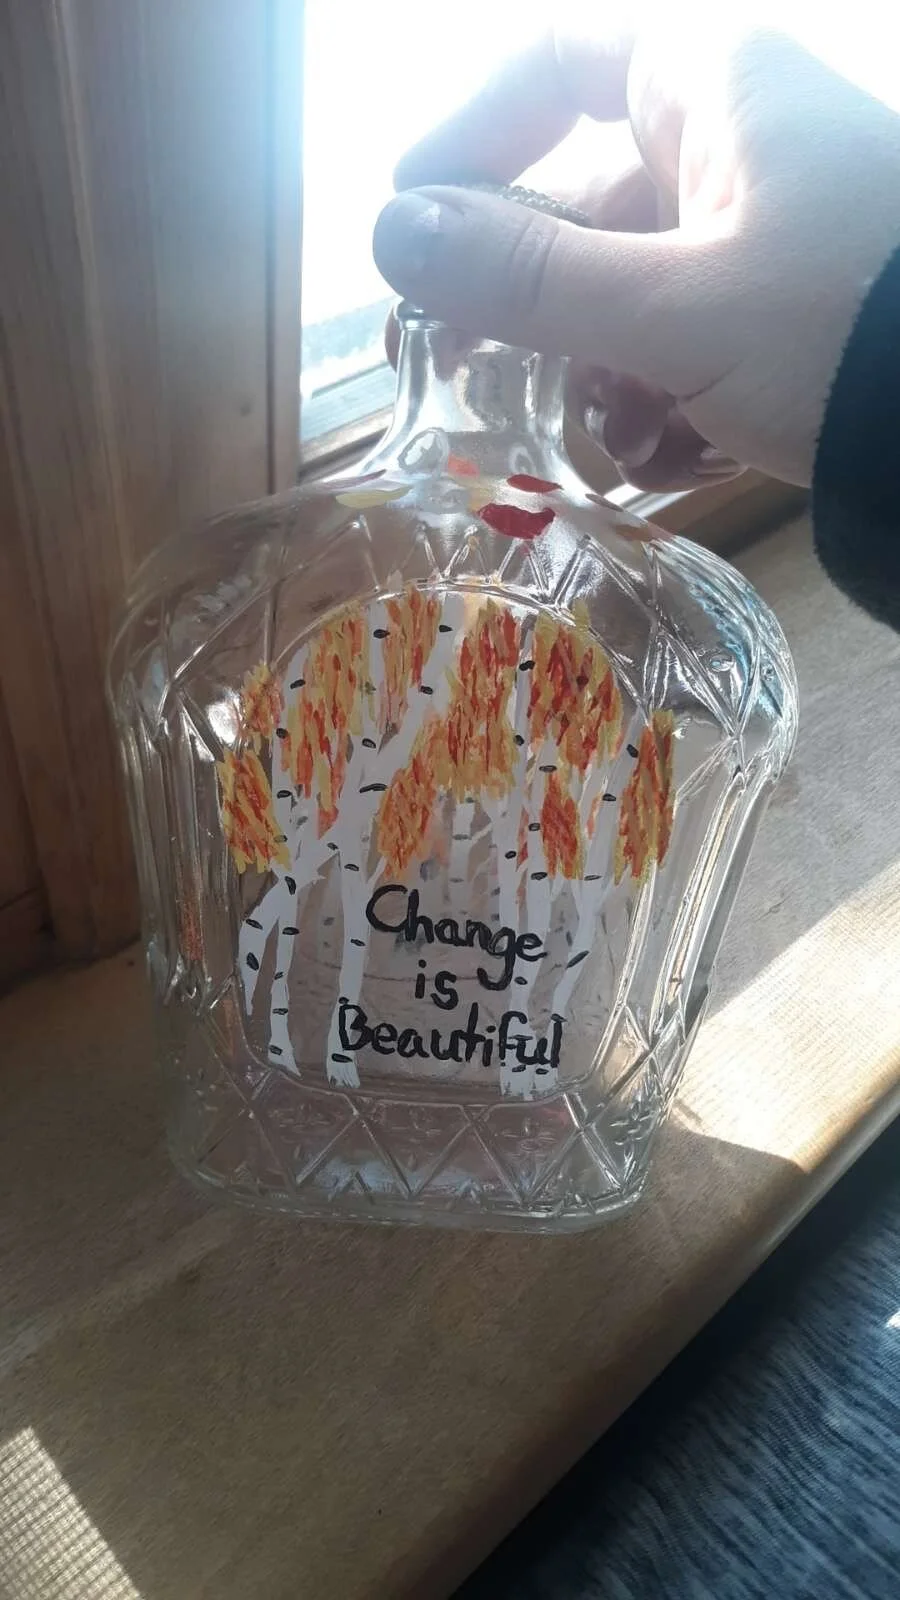
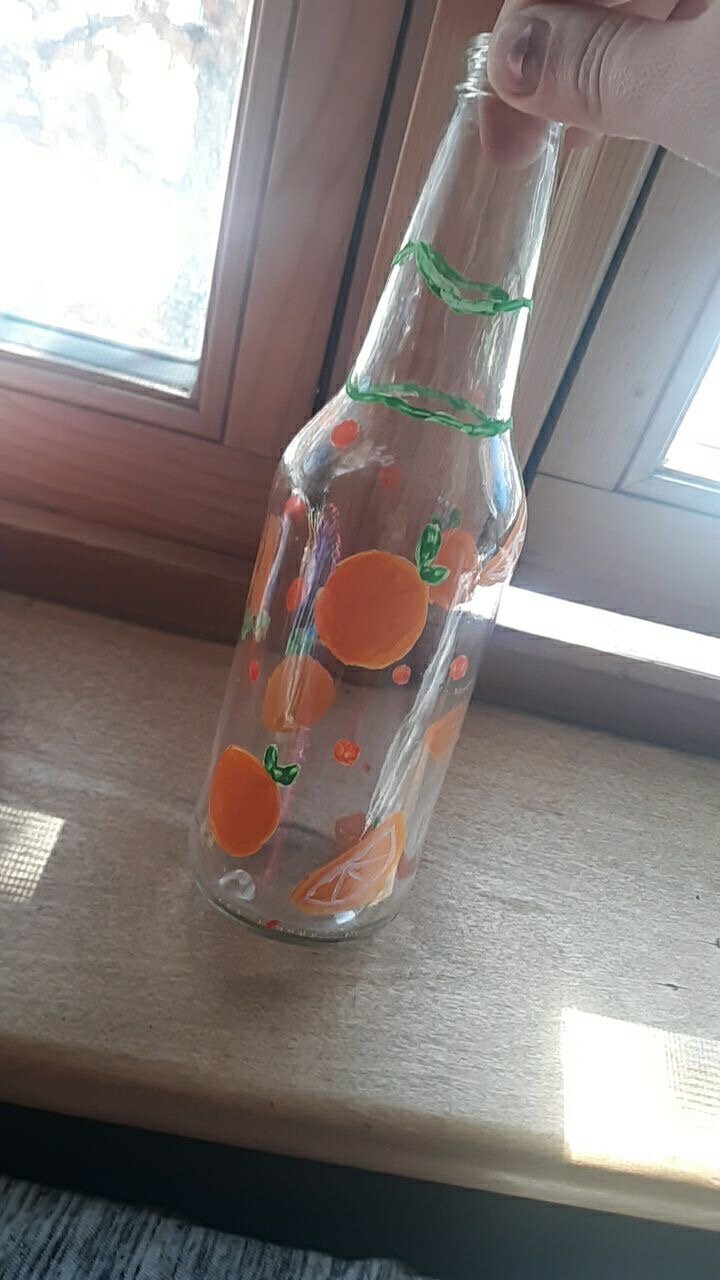
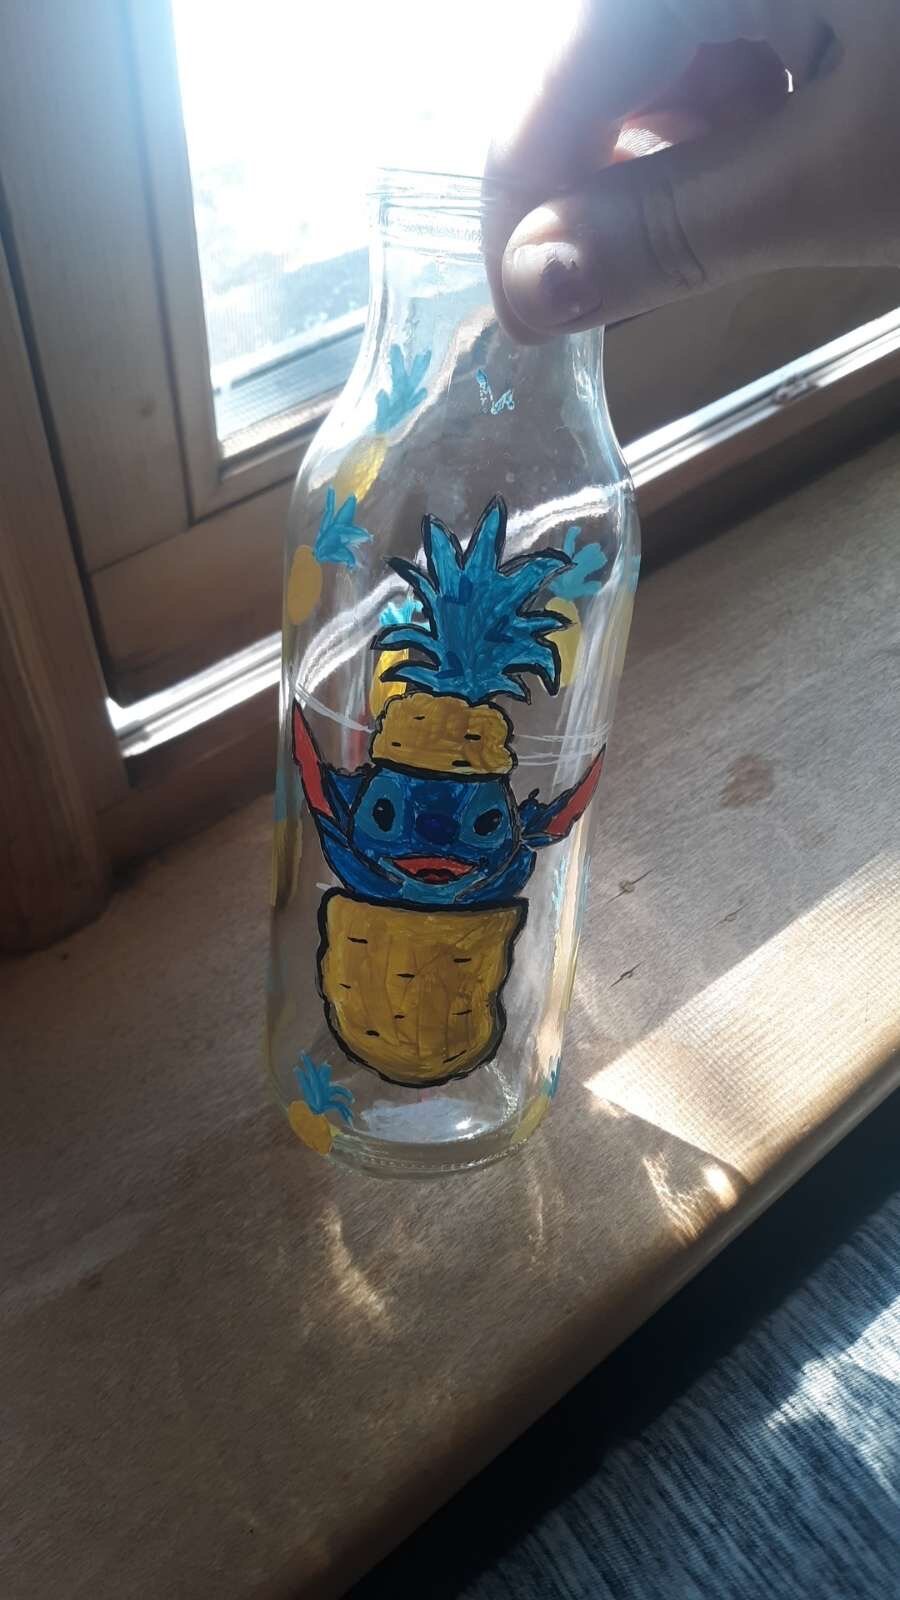
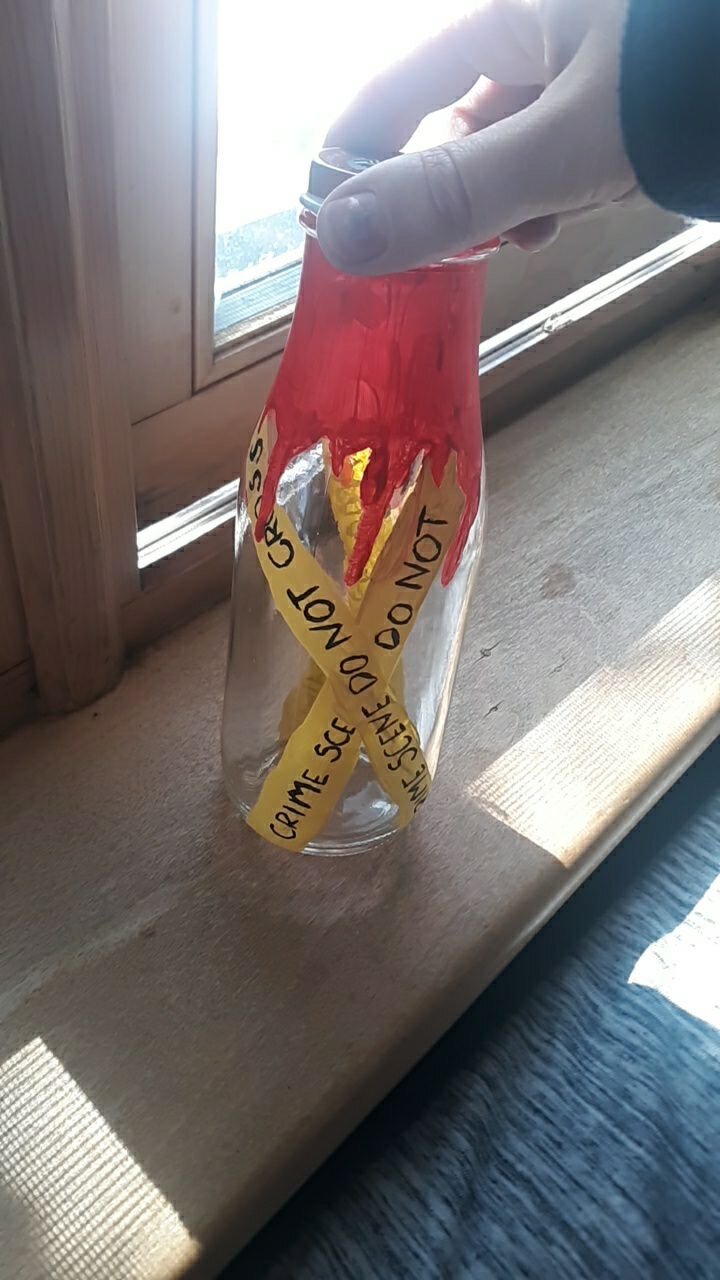
“Painting bottles became more of a coping mechanism in quarantine to relax myself, because you know, being mandatorily put into quarantine while your whole house tests negative is not the best mentally… so it became a way to destress and it’s pretty fun. Now my roommates save bottles for me to paint so everyone likes it,” said Shelby Plummer
Glass Bottle Pumpkins/Jack-O-Lanterns
Seeing as it’s spooky season, this list would feel a little incomplete without a pumpkin craft. This is an easy way to reuse old glass bottles for a pumpkin that will last year round.
Materials: Empty glass bottle of any size, orange acrylic paint, white acrylic paint, black acrylic paint, paintbrushes, green or brown yarn, (optional: red/yellow/green acrylic paint, mod podge)
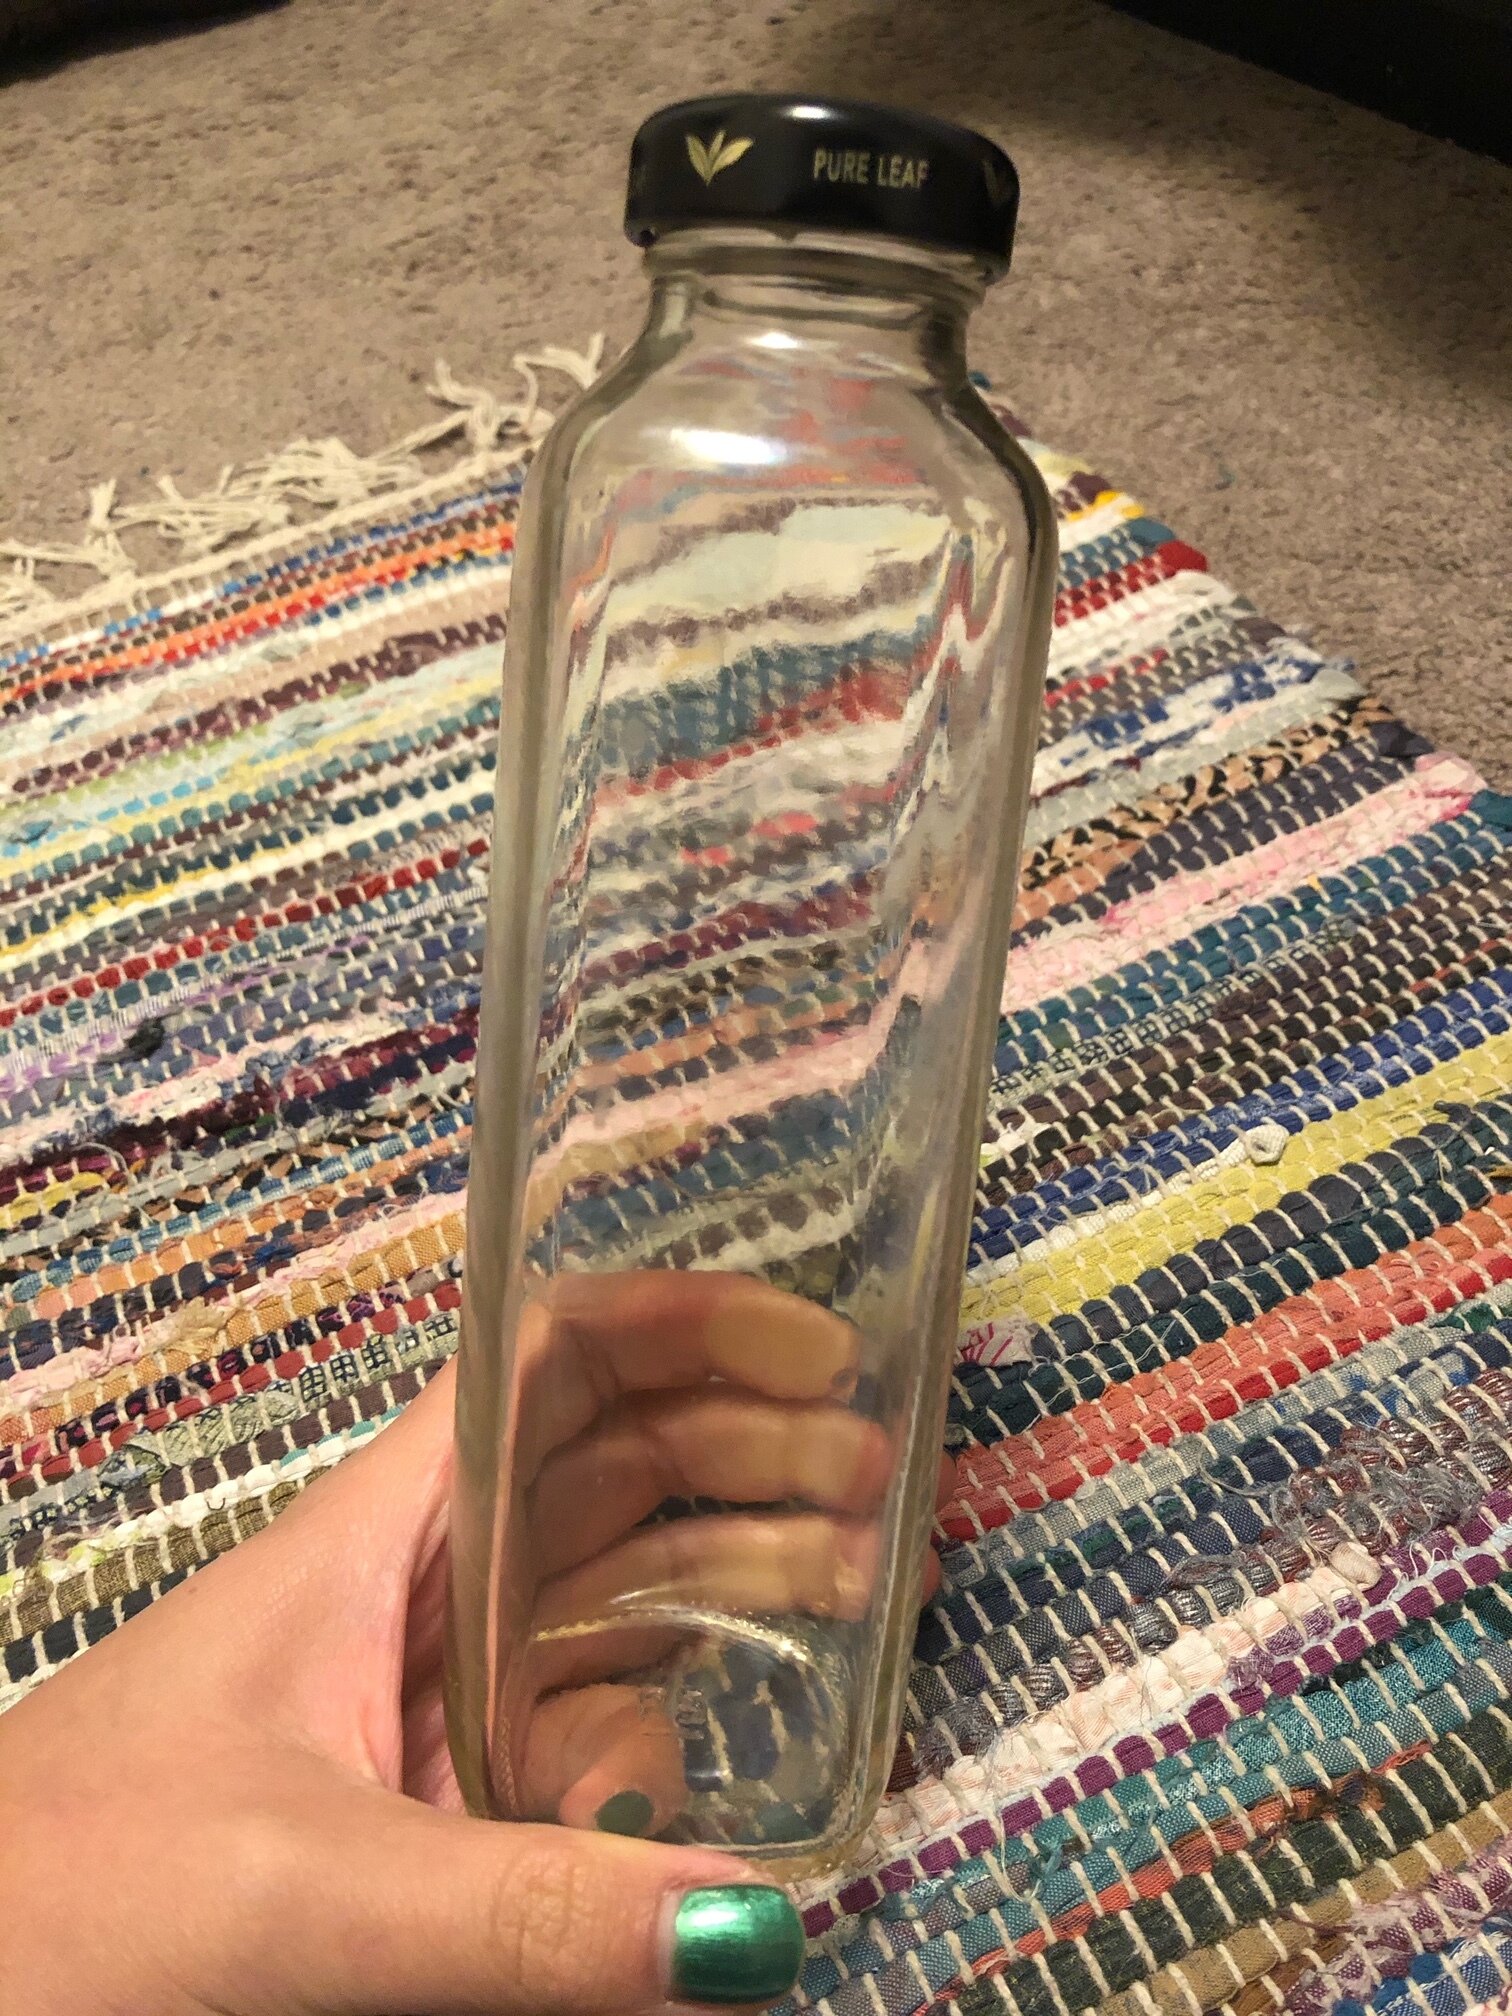
Photo by Alex Neal
Step 1: Clean out your glass bottle if needed and pull off any labels. If the label doesn’t come off cleanly, I’ve heard glass cleaner (i.e. Windex) helps get off stubborn labels.
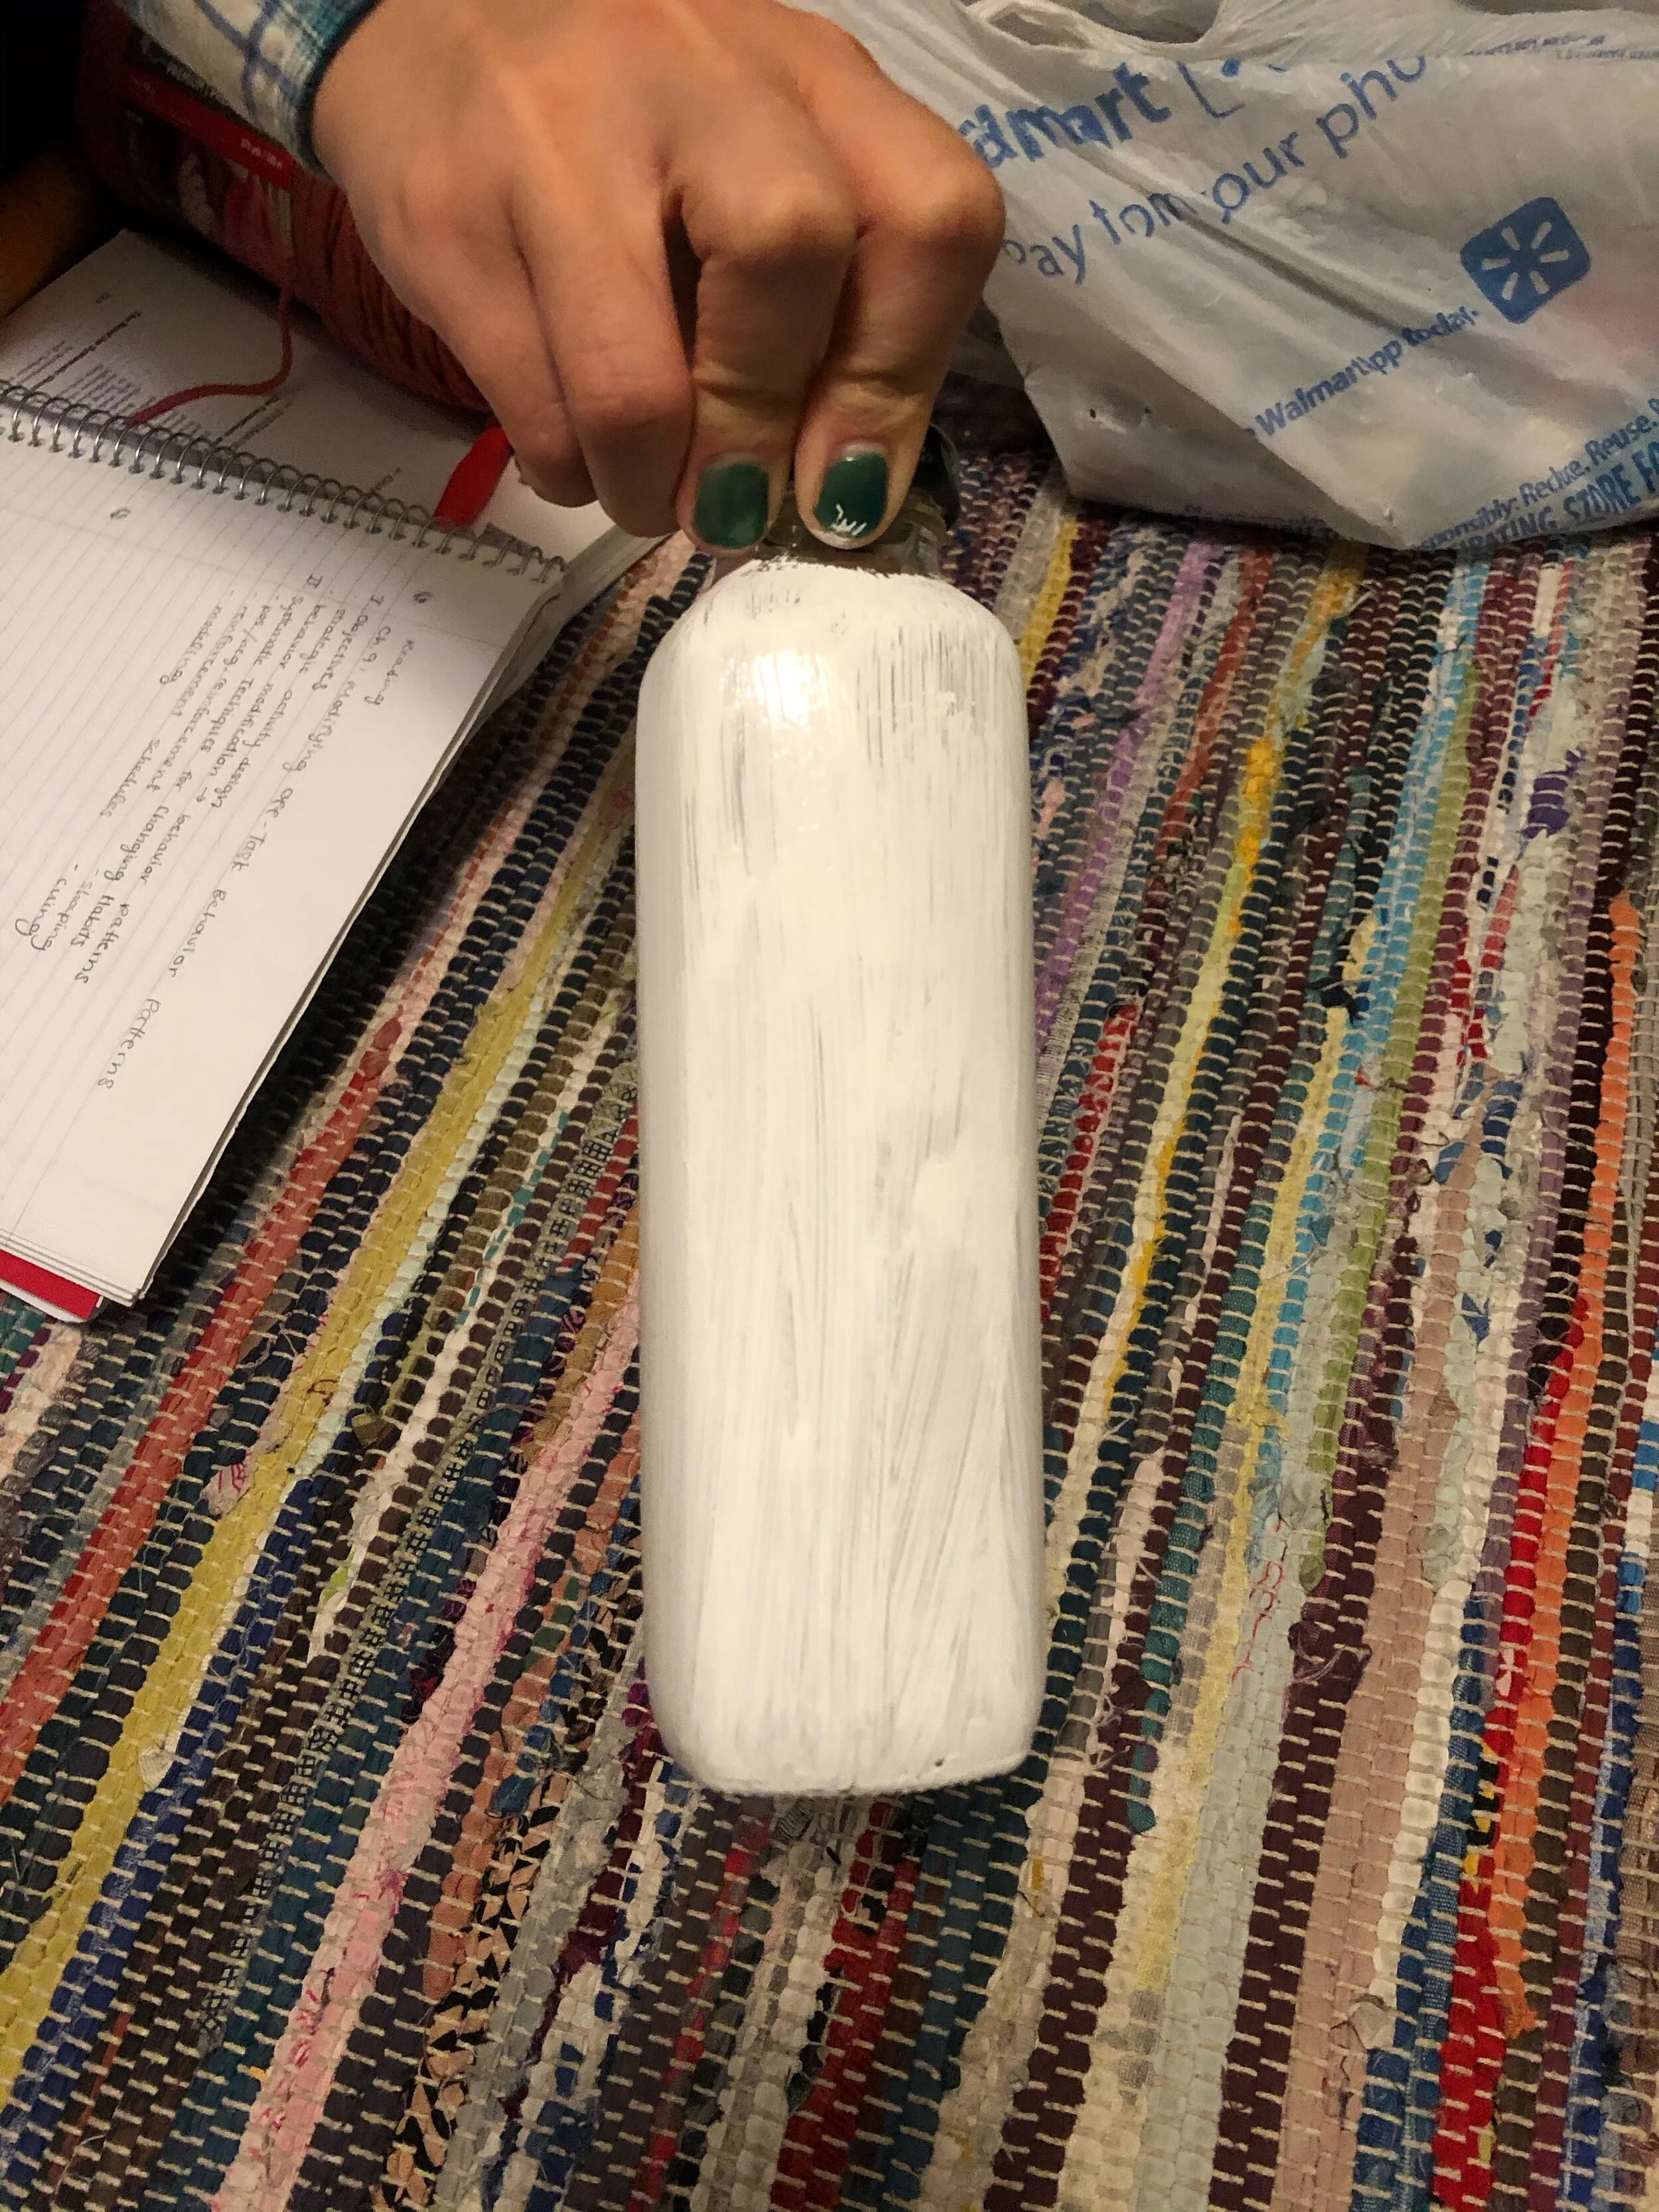
Photo by Alex Neal
Step 2: Give it a generous coat of white paint. It might take more than one coat depending on how opaque your paint is. No worries if it’s not perfect—ideally, this will be covered up with orange paint by the end of the craft.
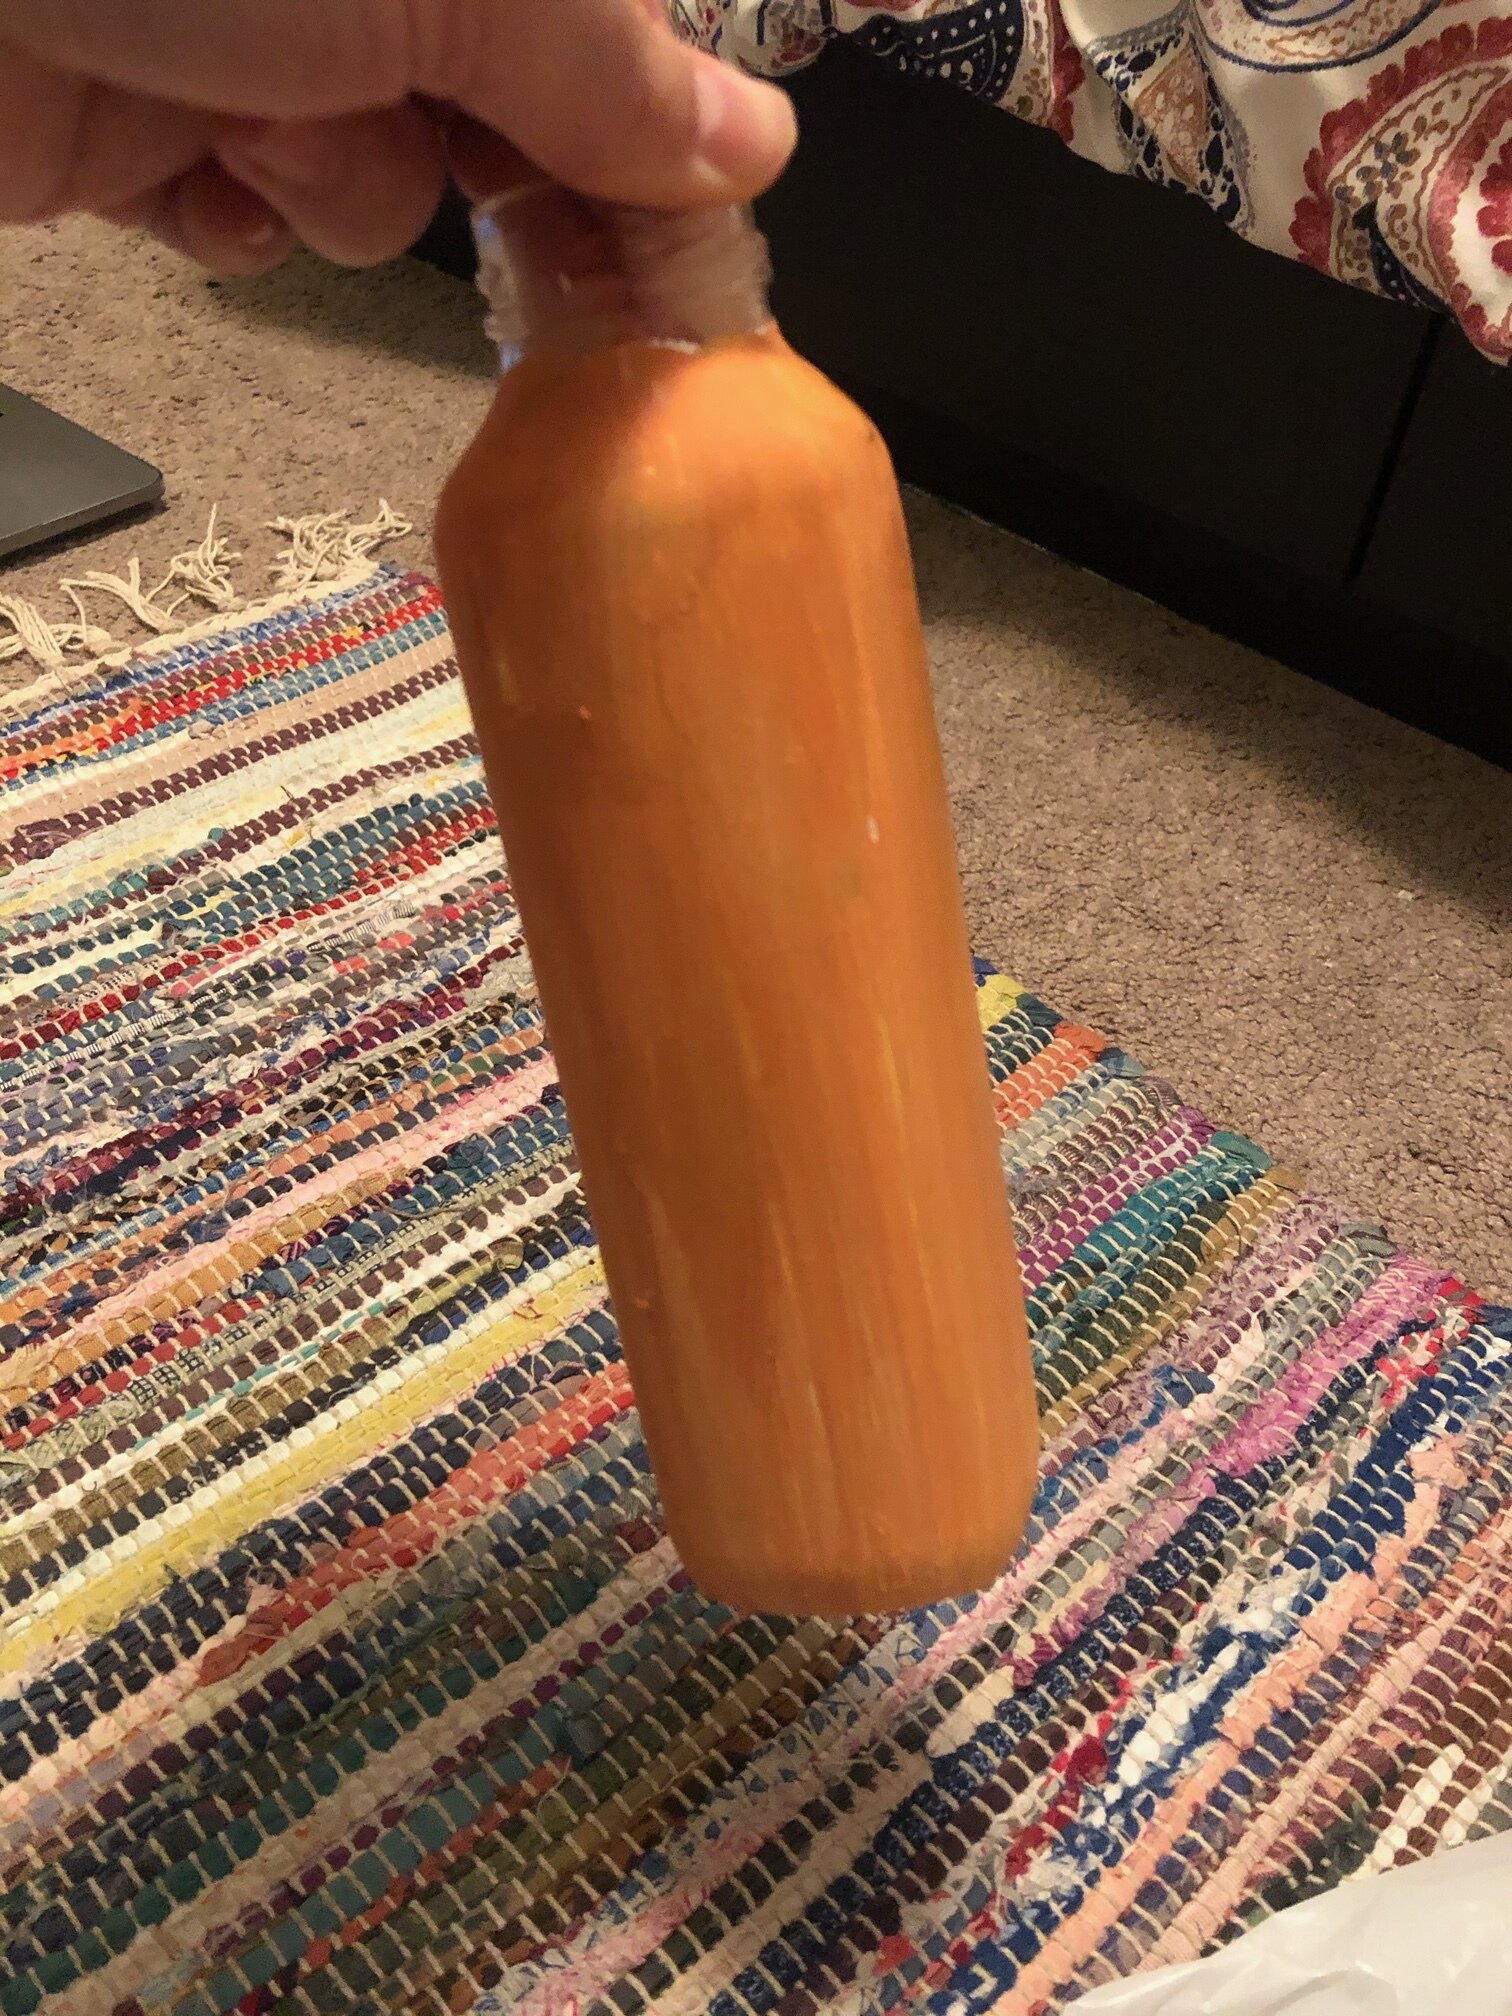
Photo by Alex Neal
Step 3: Once the white paint has dried, give your bottle a generous coat of orange paint (mixed with red/yellow, if desired). This may also take more than one coat. It took me 2 coats to reach my ideal orange.
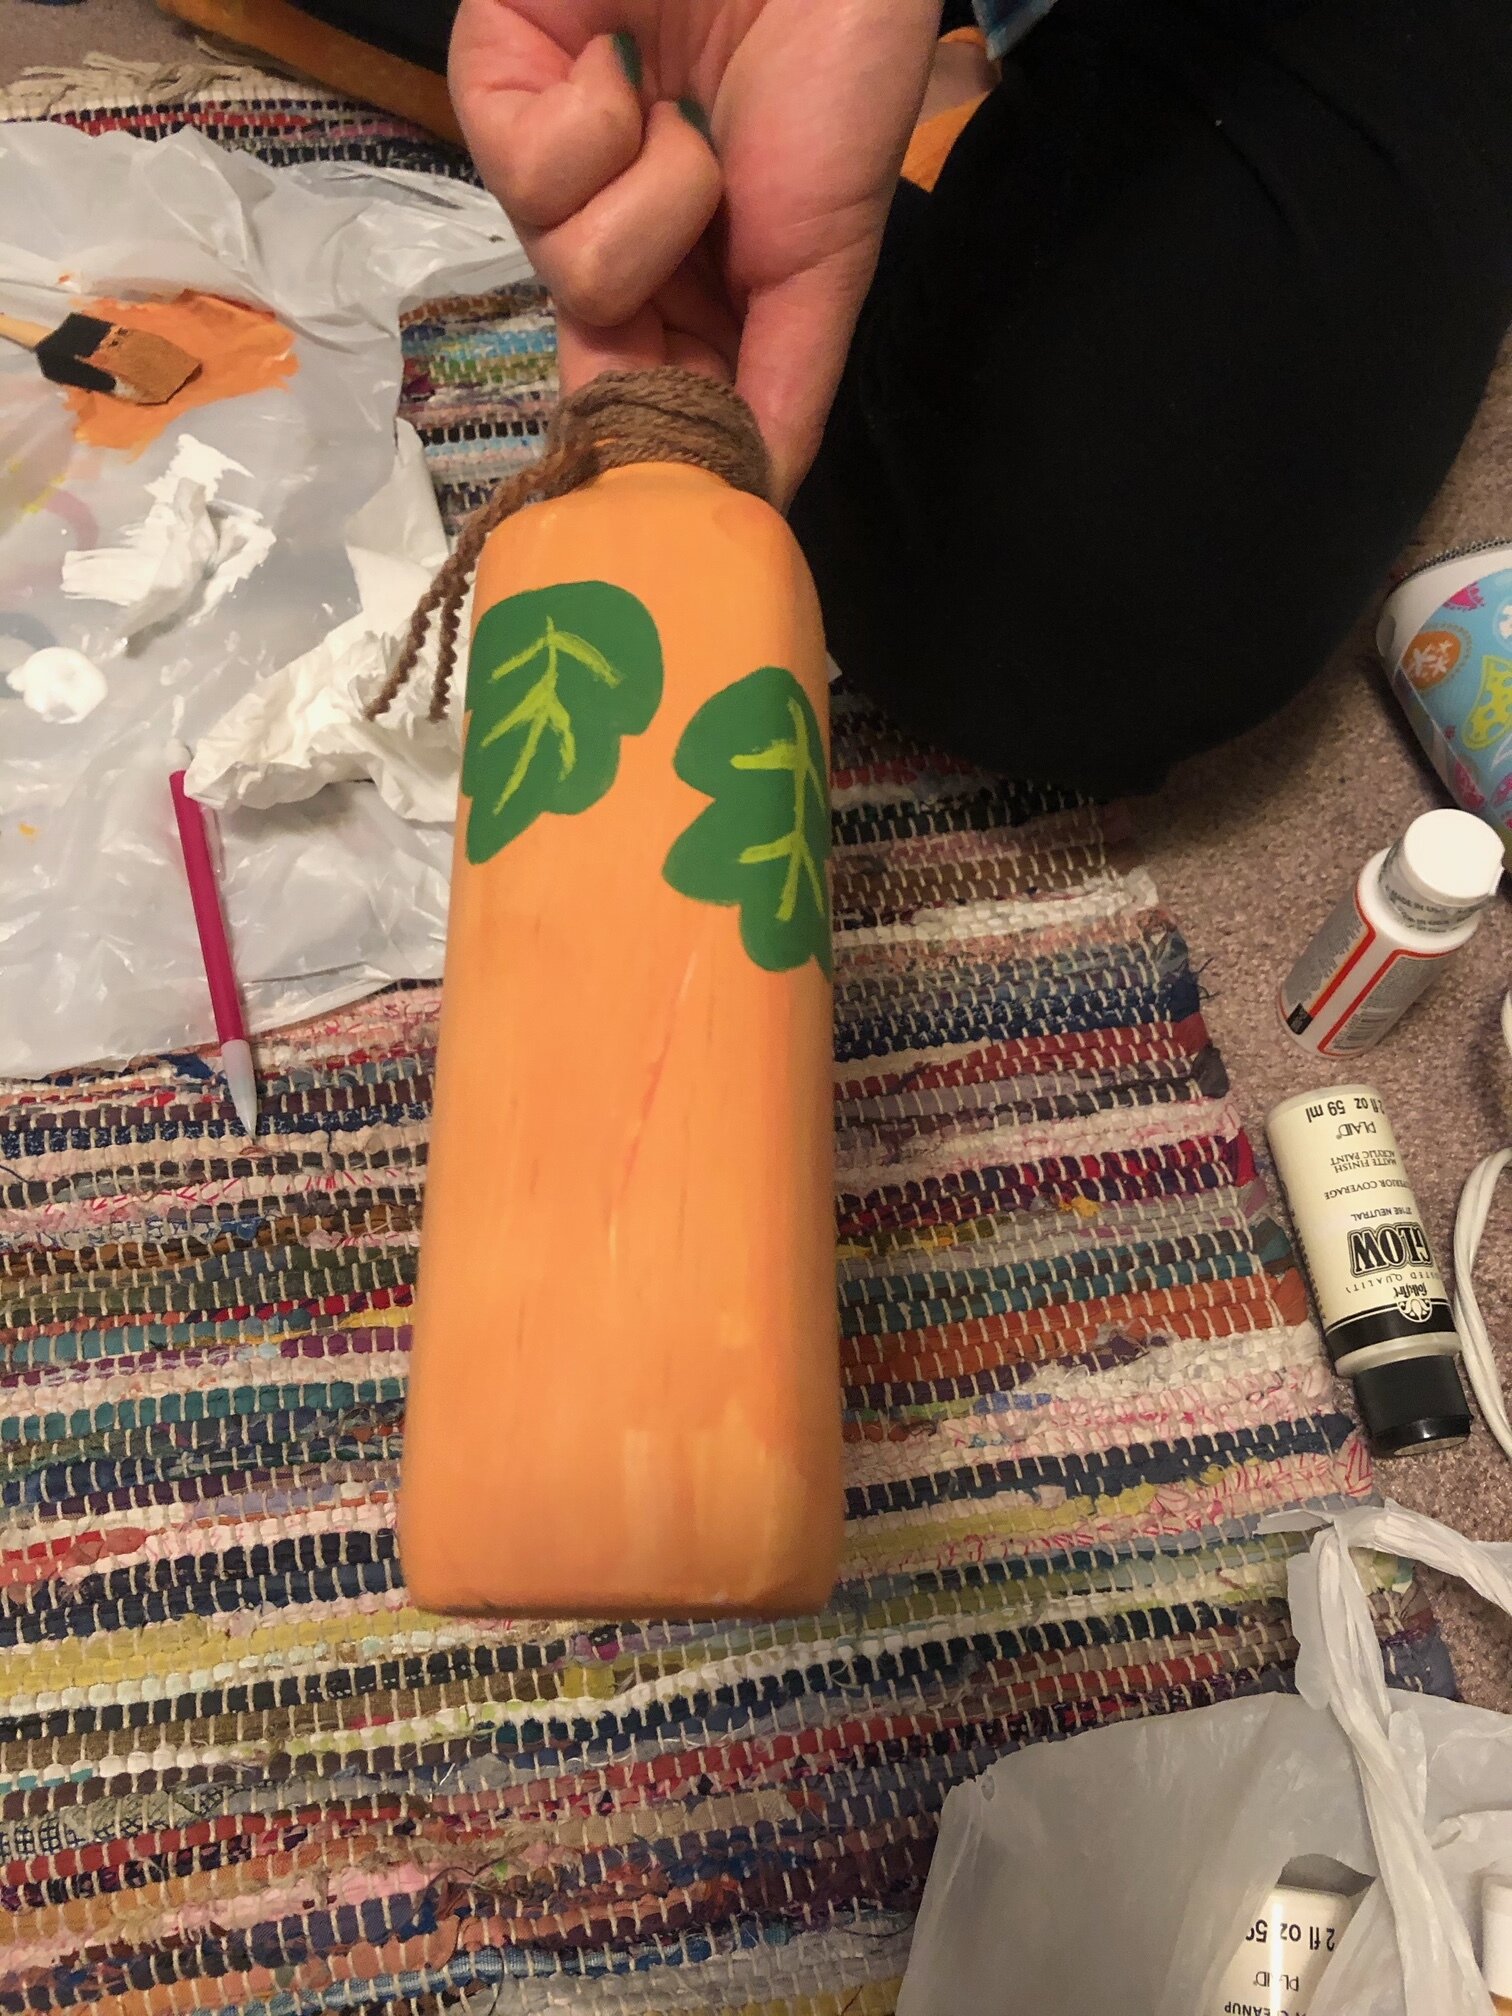
Photo by Alex Neal
Step 4: OPTIONAL: Once the orange paint has dried, paint some “vines” with the green paint. Keep them just below the neck of the bottle, as the neck of the bottle will be the stem. You can also paint the neck of the bottle green if you have green paint, but this will be covered by the yarn, so it’s alright if this step is skipped.
Step 5: This step is technically optional, but if desired, you can use the black paint to create a jack-o-lantern design on your pumpkin. I didn’t paint a face on mine, but I think it could look cute!
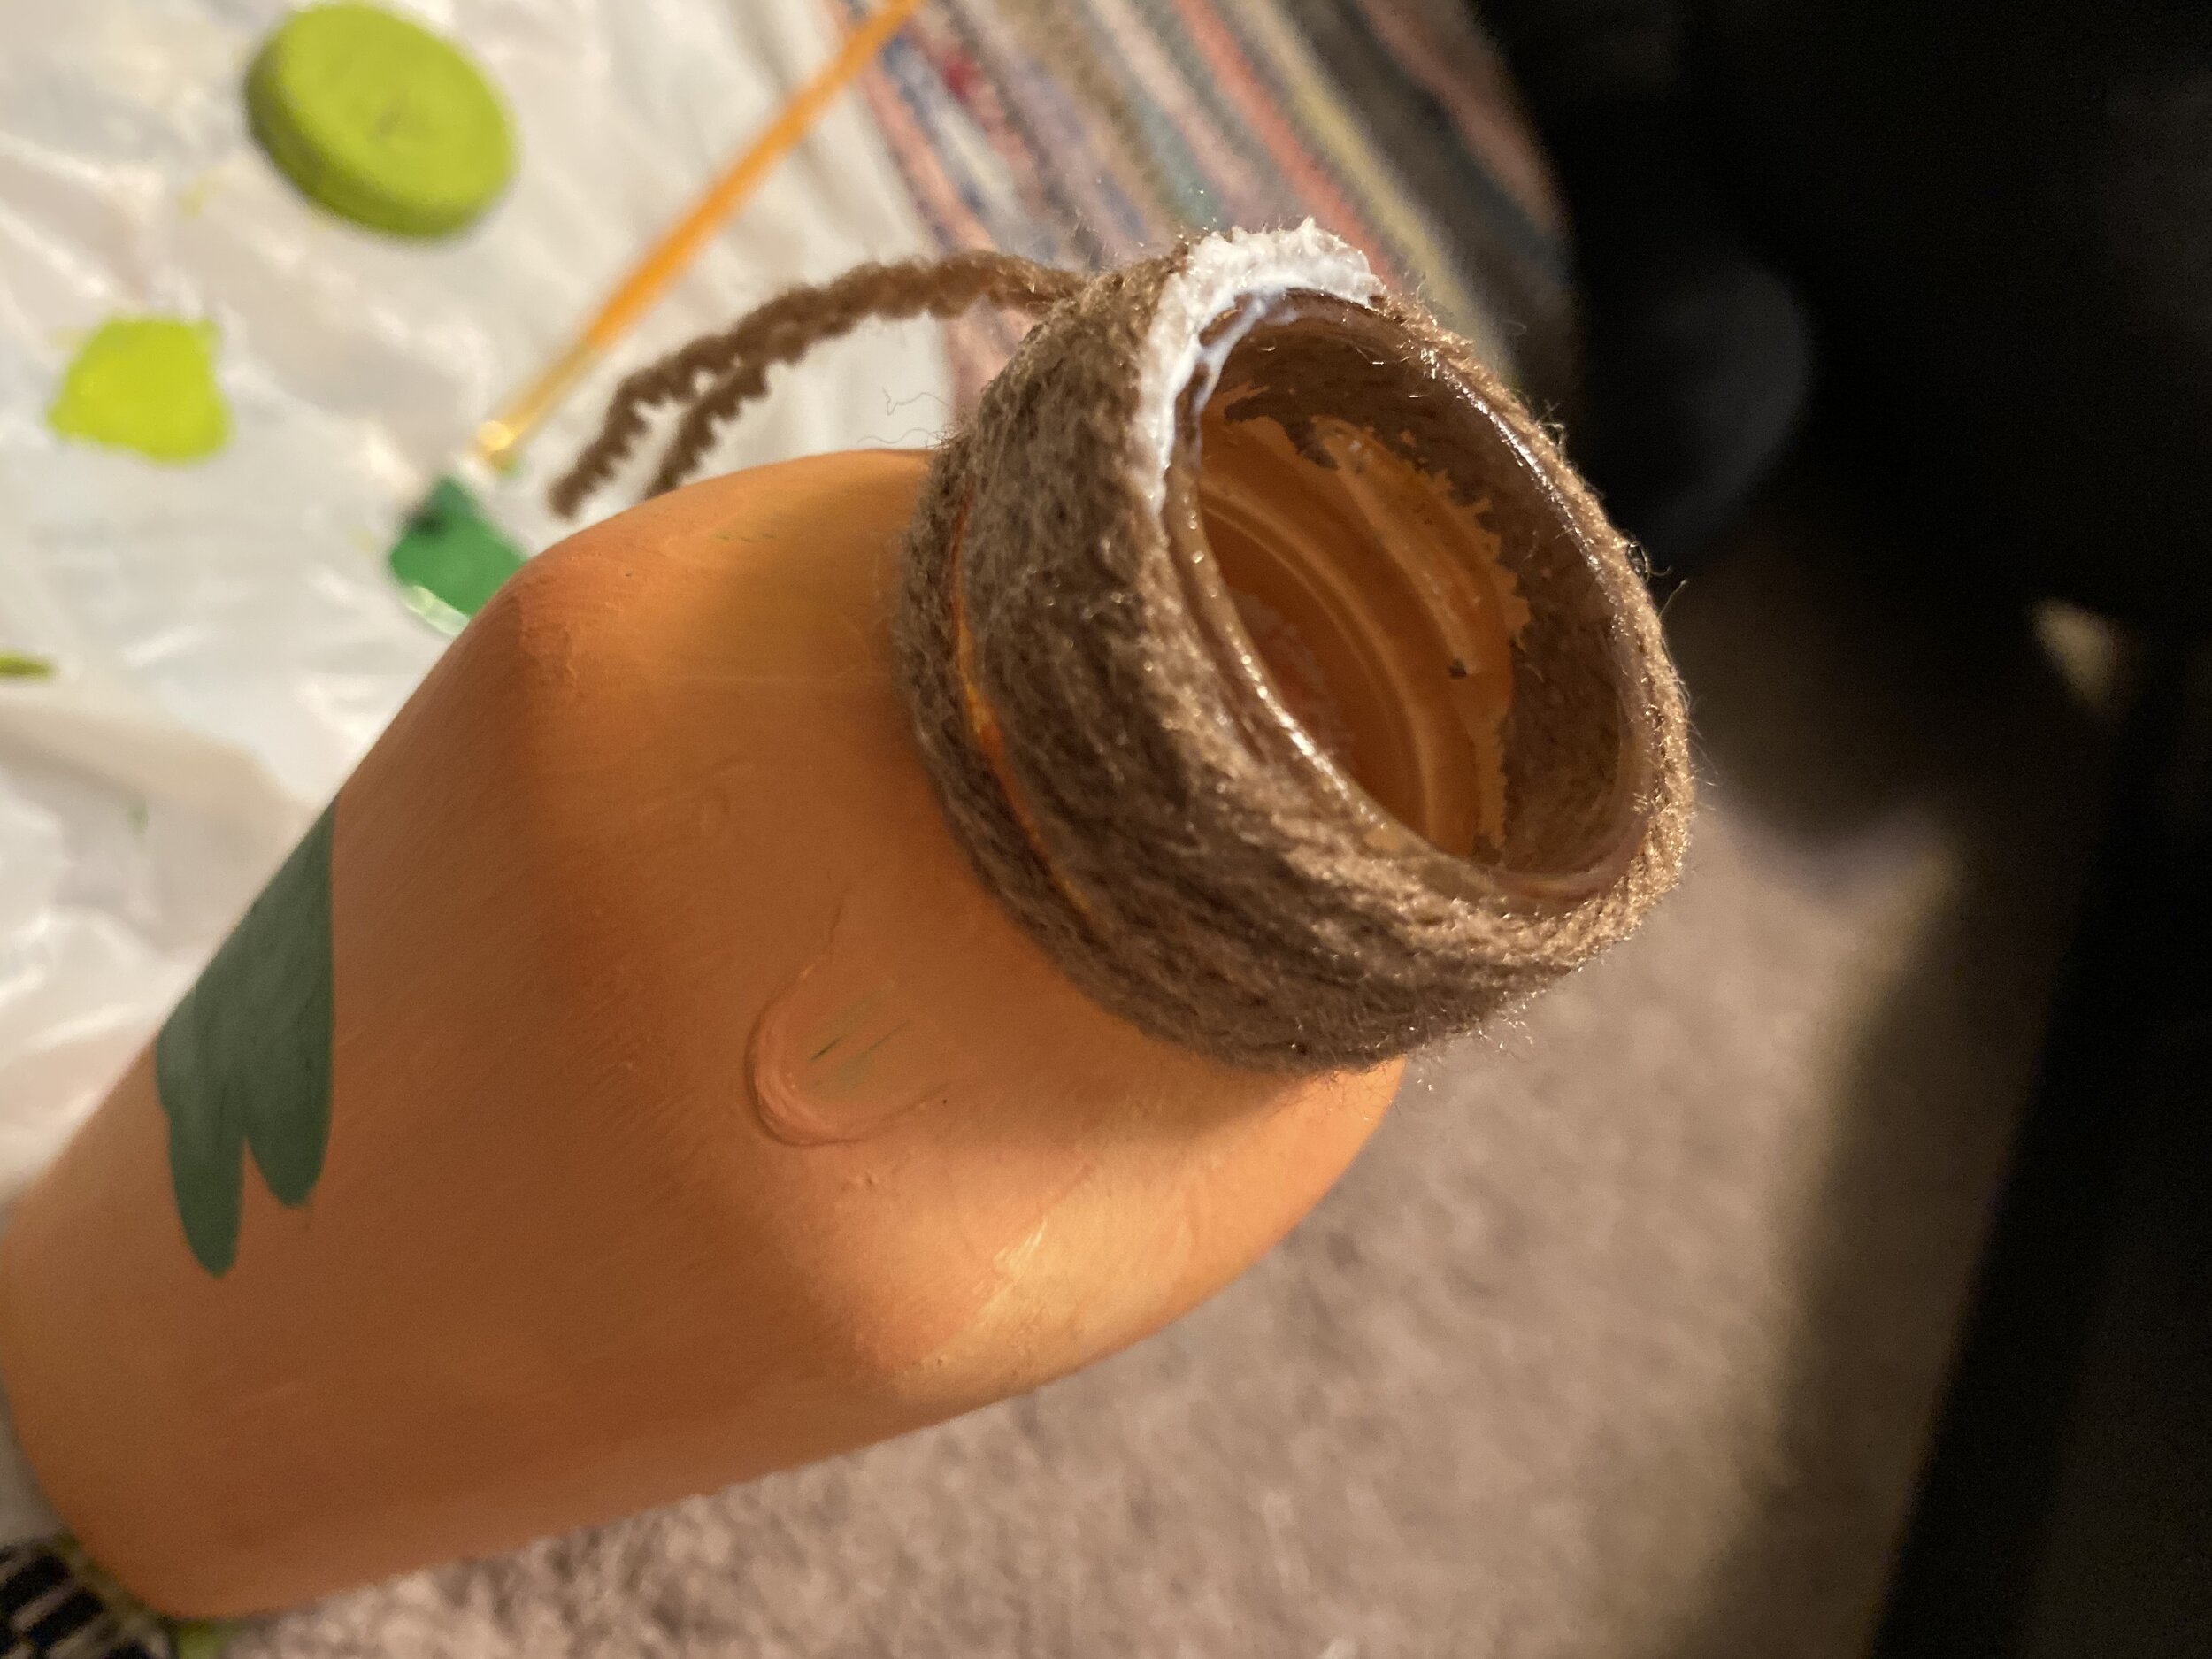
Photo by Alex Neal
Step 6: Once all the paint/mod podge has dried, take some green or brown yarn and wind it around the neck of the bottle. This will be the stem of the pumpkin. I tied the two ends together, but you can also use glue or a similar type of adhesive to keep the yarn on the neck of the bottle
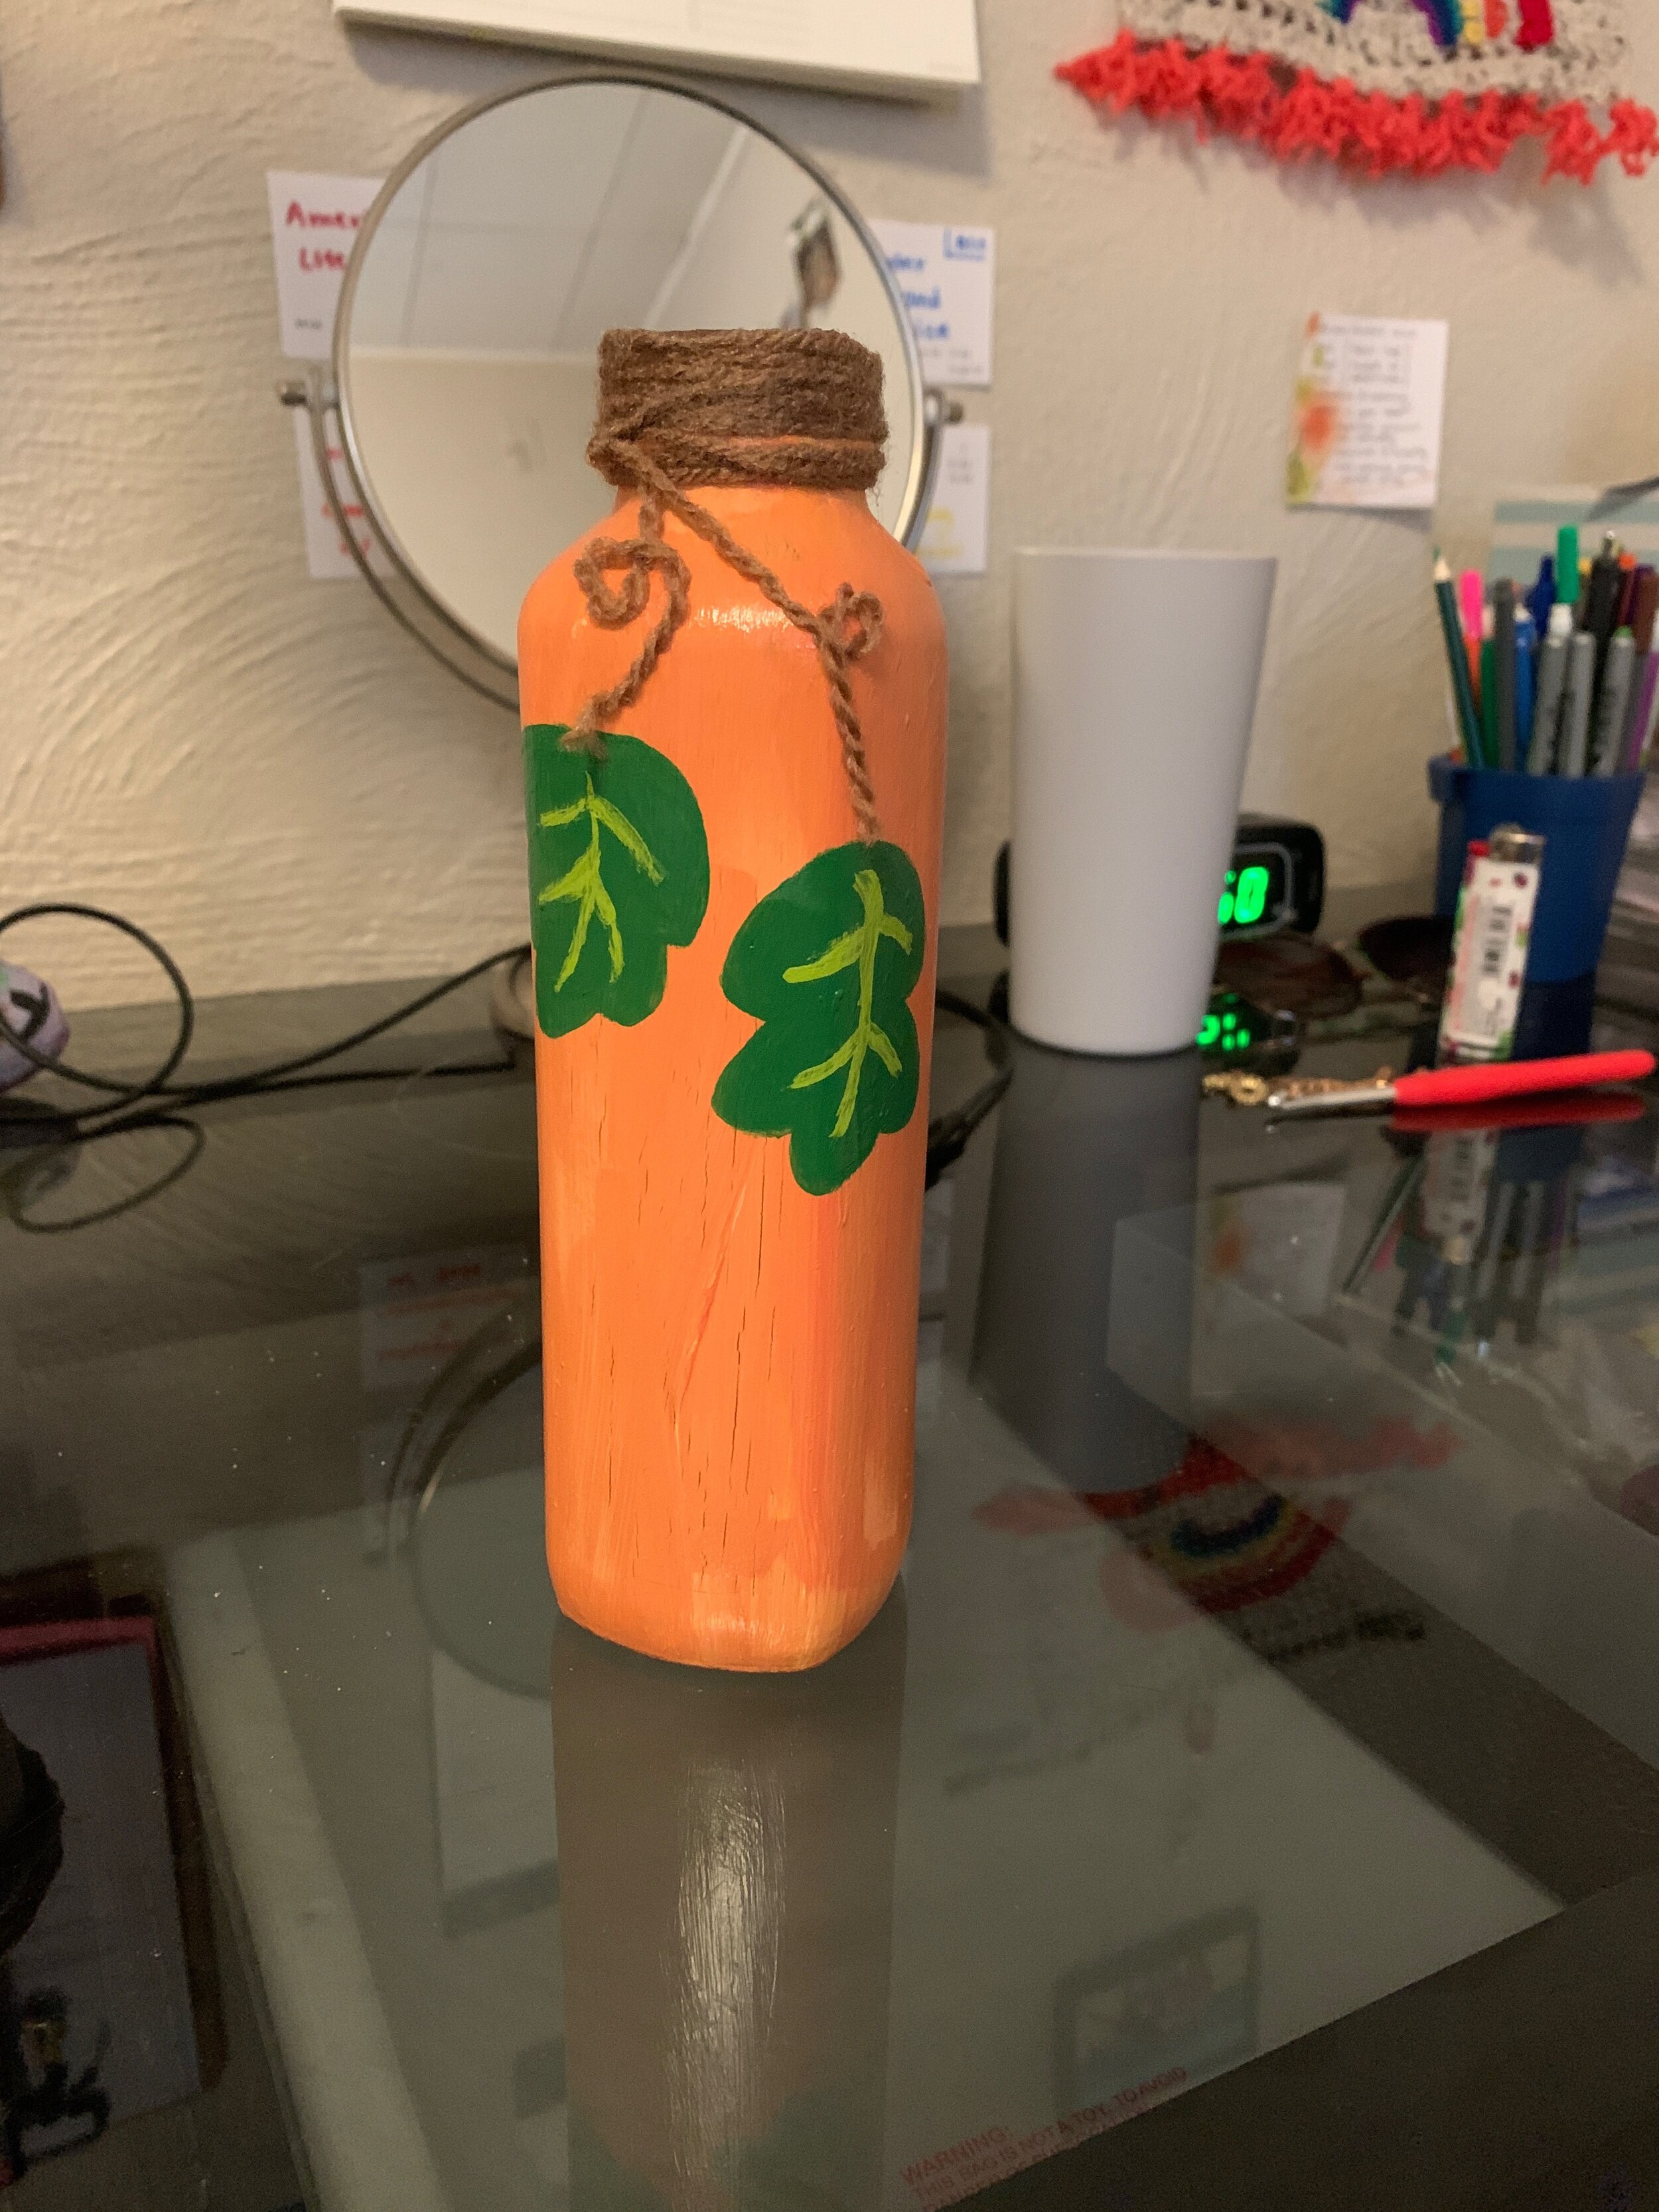
Photo by Alex Neal
Step 7: OPTIONAL: If you have mod podge and your pumpkin turned out matte instead of glossy, you can add a coat of mod podge over your pumpkin once the paint has dried for that glossy, “finished” look.
And that’s it! Enjoy your new glass bottle pumpkin!